

 Work with us


 Blog
Blog

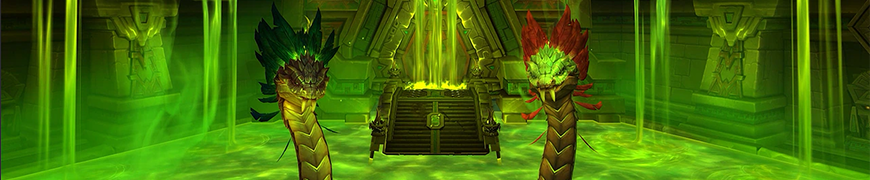
The Venomous Abyss Raid Guide: Every Boss, Loot and Gearing Change in Midnight Season 2
10 min read
Last updated July 2026
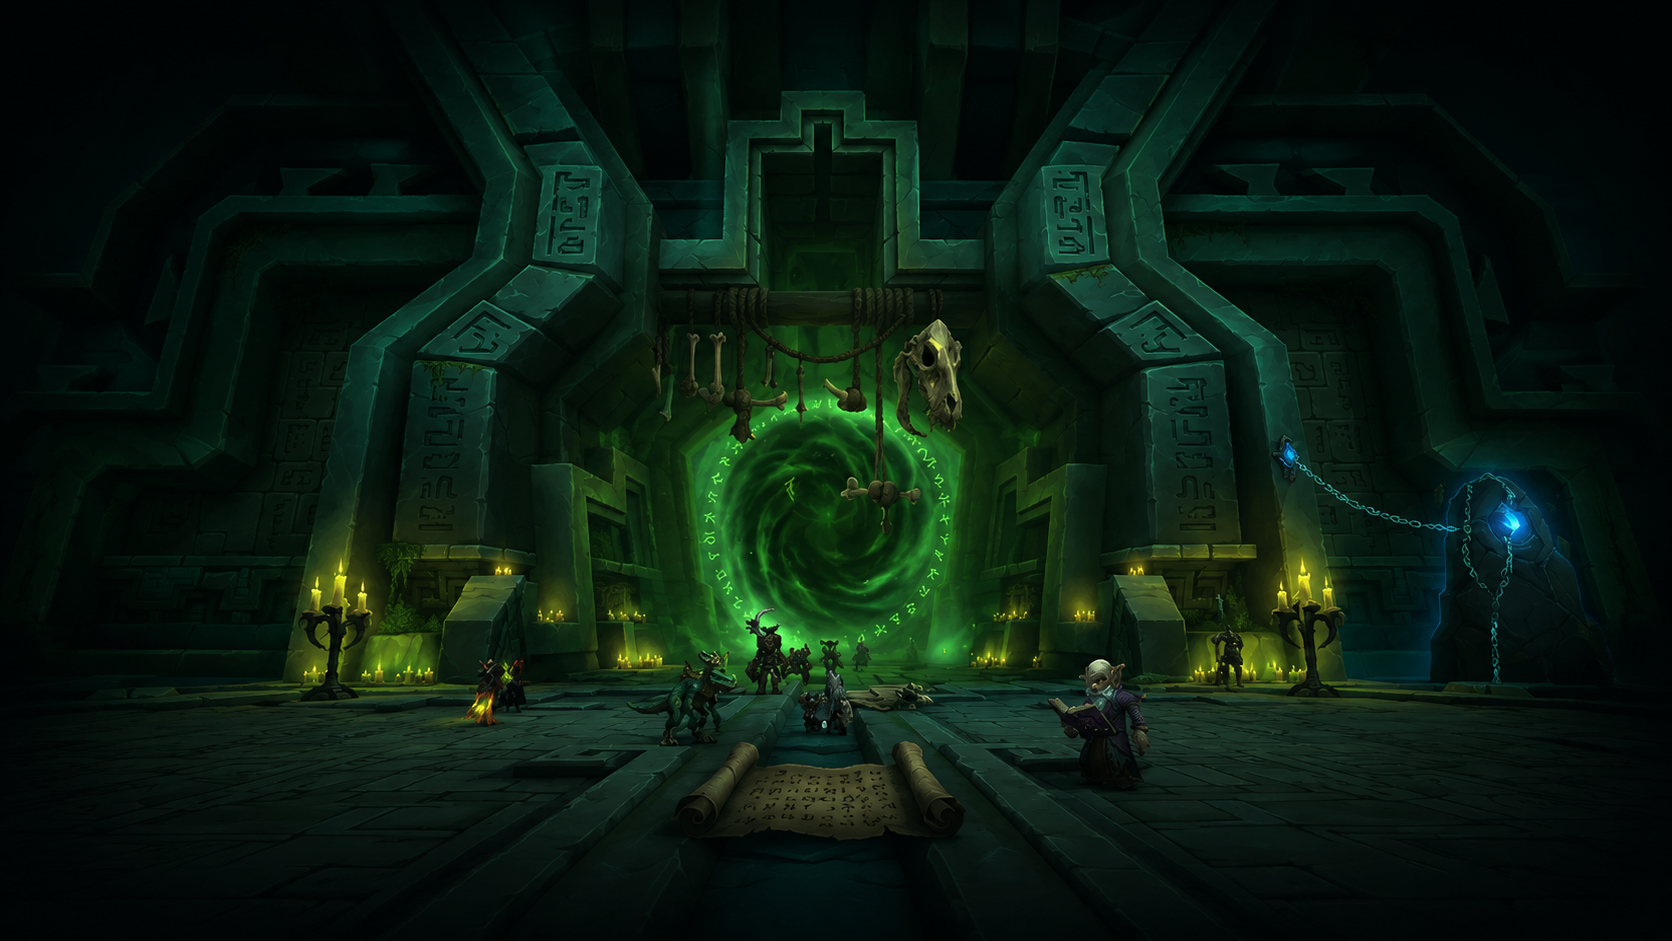
The Venomous Abyss is the raid of WoW Midnight Season 2, buried in the Temple of Ula'tek beneath the new Coiled Isle off the east coast of Zul'Aman. It runs eight bosses and ends with Ula'tek herself, a serpent goddess the Amani imprisoned for over 16,000 years, freed when Zul'jan, driven by Malacrass, unleashed her broods. It arrives with Patch 12.1: Curse of Ula'tek, and like the rest of Season 2 it goes live one week after the patch launches.
Everything below is built from the PTR encounter journal, Blizzard's testing sessions and datamined data. That means it's accurate as of the latest PTR build and nothing more: names, tuning and pacing are all still moving, seven of the eight bosses have been tested (Ula'tek stays locked until launch, as Blizzard always does with final bosses), and we'll update this guide as testing continues. Treat it as a preview to walk in prepared, not a launch-day strategy bible.
Quick facts
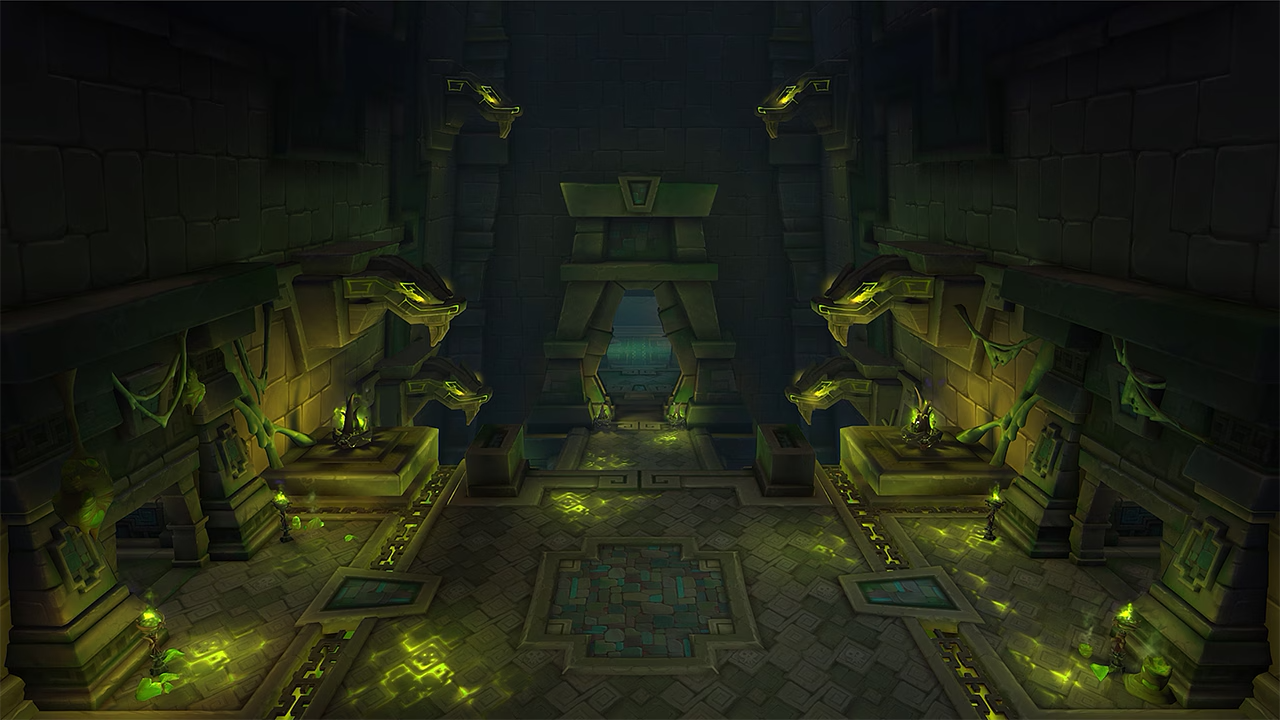
- Raid: The Venomous Abyss
- Patch: 12.1, Curse of Ula'tek
- Season: Midnight Season 2, one week after patch launch
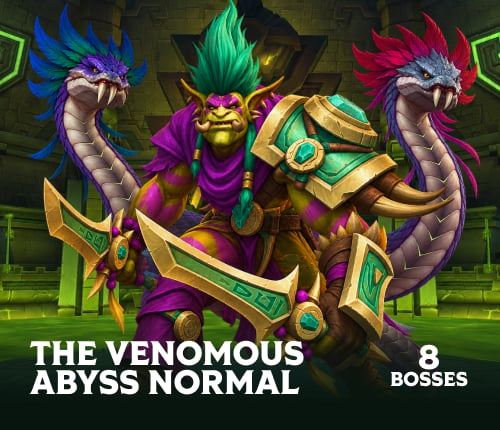
- Bosses: 8
- Location: Temple of Ula'tek, Coiled Isle
- Theme: Amani troll imagery, serpents and venom
- Connected dungeon: Altar of Fangs, a 3-boss dungeon in the Season 2 Mythic+ pool
- Item levels (PTR): Raid Finder 279, Normal 292, Heroic 305, Mythic 318, upgradable to 335 and 344 on special upgrades
The full boss roster
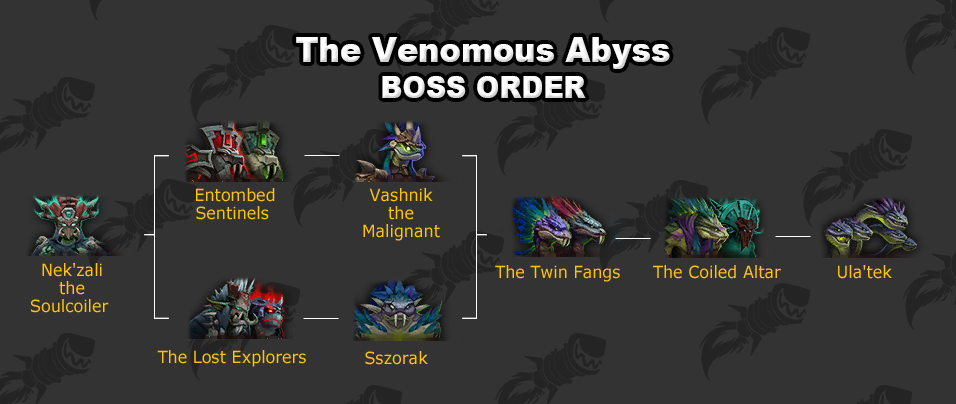
The wing structure and boss order from the PTR zone data:
- Nek'zali the Soulcoiler: the shadow hunter who summoned Ula'tek, entombed for it, now restored
- Entombed Sentinels: the Blood and Breath of Ula'tek, two corrupted golems
- Vashnik the Malignant: an alchemist distilling Ula'tek's venoms in the Chamber of Virulence
- The Lost Explorers: a trio of possessed tortollan led by Mor'zahi
- Sszorak: a venom-warped beast, and the raid's first jumping puzzle
- The Twin Fangs: Vexhul and Ithraz, a two-target cleave fight
- The Coiled Altar: Zul'jan, still possessed by Malacrass, forced to finish the ritual
- Ula'tek: the final boss, not PTR-tested
One naming note: earlier datamined builds labeled the seventh boss "The Bargained Crown," but the current PTR zone page and journal use The Coiled Altar. We're going with the current name.
Boss 1: Nek'zali the Soulcoiler


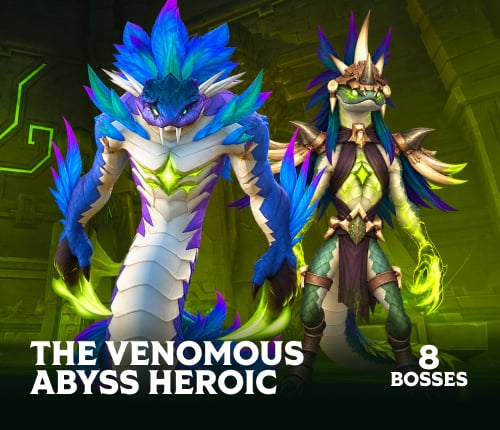

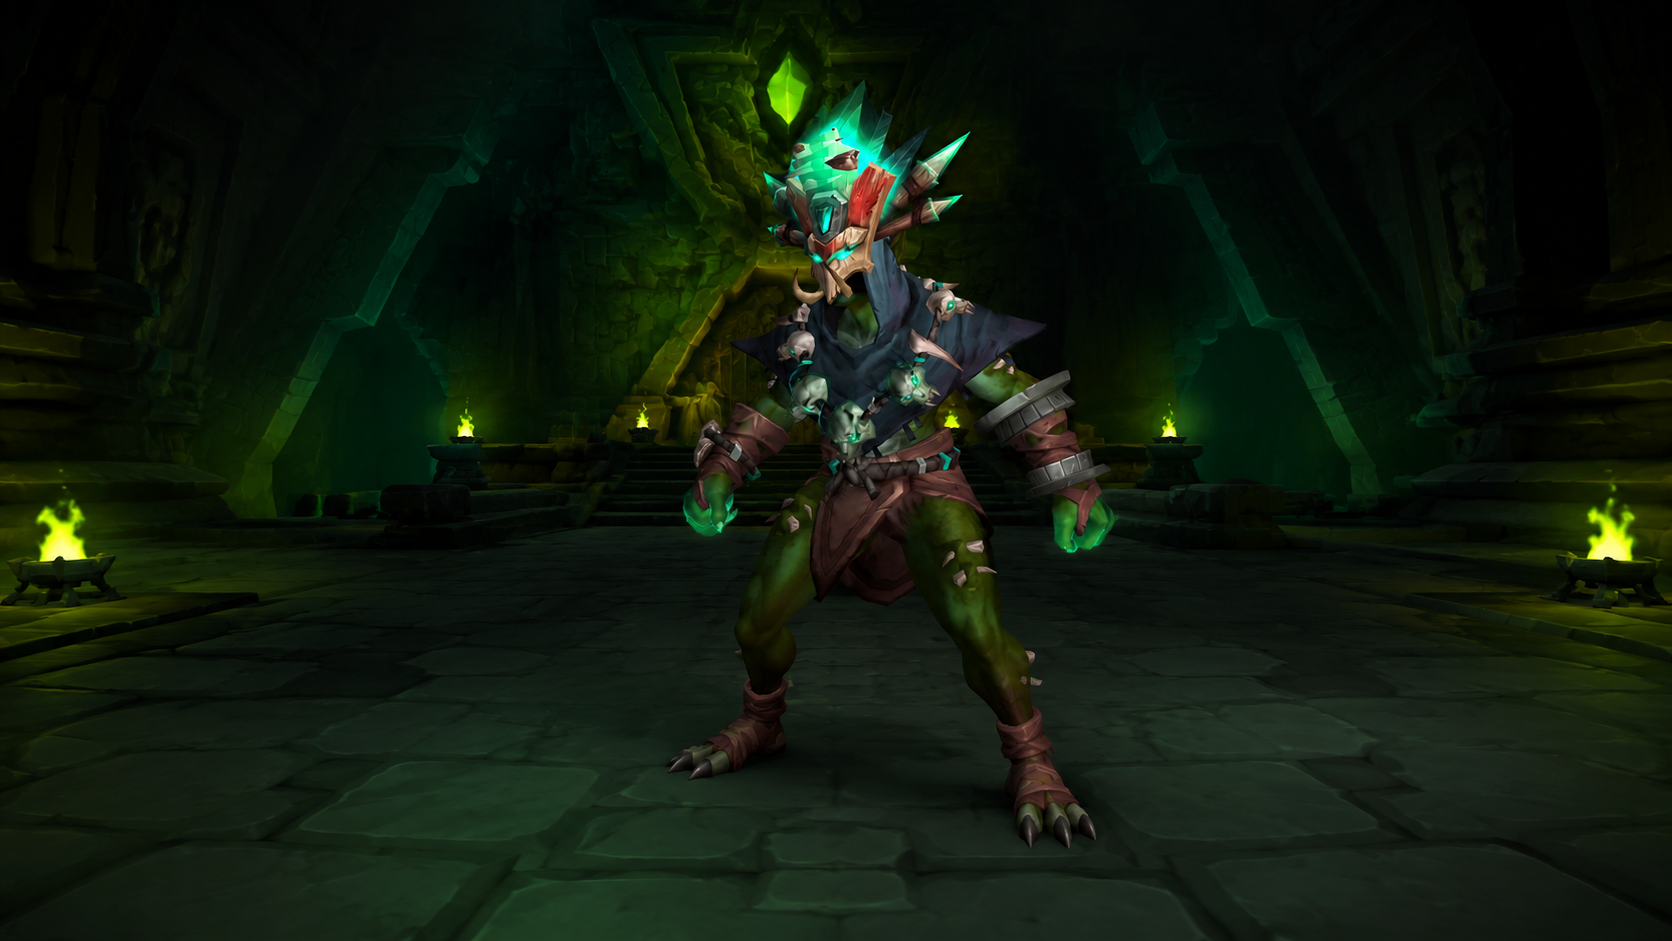
Nek'zali is less a damage race and more a containment job. She sits by the Soulcoil Well, and every spirit that reaches it feeds her energy. Fill the well and she enters Uncoiling, gaining Uncoiled Rage: roughly 150% faster attacks and movement, a massive damage increase and taunt immunity. That's a soft enrage triggered by failed add control, not a timer, so for most of the fight add management beats boss uptime.
Adds. Raised Amani climb from sarcophagi and make straight for the well, shielded by Gravebound Advance, a magic absorb worth about 25% of their health that grants death immunity while it holds. Slow or root them, break the shield, then kill them before they reach the well. Don't hold them in crowd control forever, they have to actually die. Killing one right on top of the well risks a Corpse Blight burst, so don't stack on the corpse. Latent Cultists orbit the well separately, throwing out Shadow damage and slows, and they're a cleanup priority rather than something to chase.
Tanks. Nek'zali's melee, Sever, stacks Hollowed, a Shadow damage-over-time effect that cuts your healing and absorbs received by 5% per stack. Swap before the stacks bury your healers rather than on a fixed timer. Possession Barrage fires spectral echoes at her current target that lose power the further they travel, so tanks want to stand away from the raid, and on Heroic each connecting echo adds a Hollowed stack.
Intermission, Ritual of Awakening. Around 50% health, Summoner Jawae raises Tethers of Awakening. Kill the Echoes of Jawae to sever them. Heroic adds Hungering Pyre, a shared soak to spread rather than dogpile, and Cremation, which detonates near corpses, so keep clear of the dead Raised Amani. Stand in the safe zones through the transition.
Roles at a glance. Tanks manage Hollowed swaps and distance for Possession Barrage. Healers hold externals for the tank stacking Hollowed. DPS prioritize add control over boss damage, and most groups save Bloodlust for after the intermission unless Uncoiling tuning proves brutal.
Boss 2: Entombed Sentinels
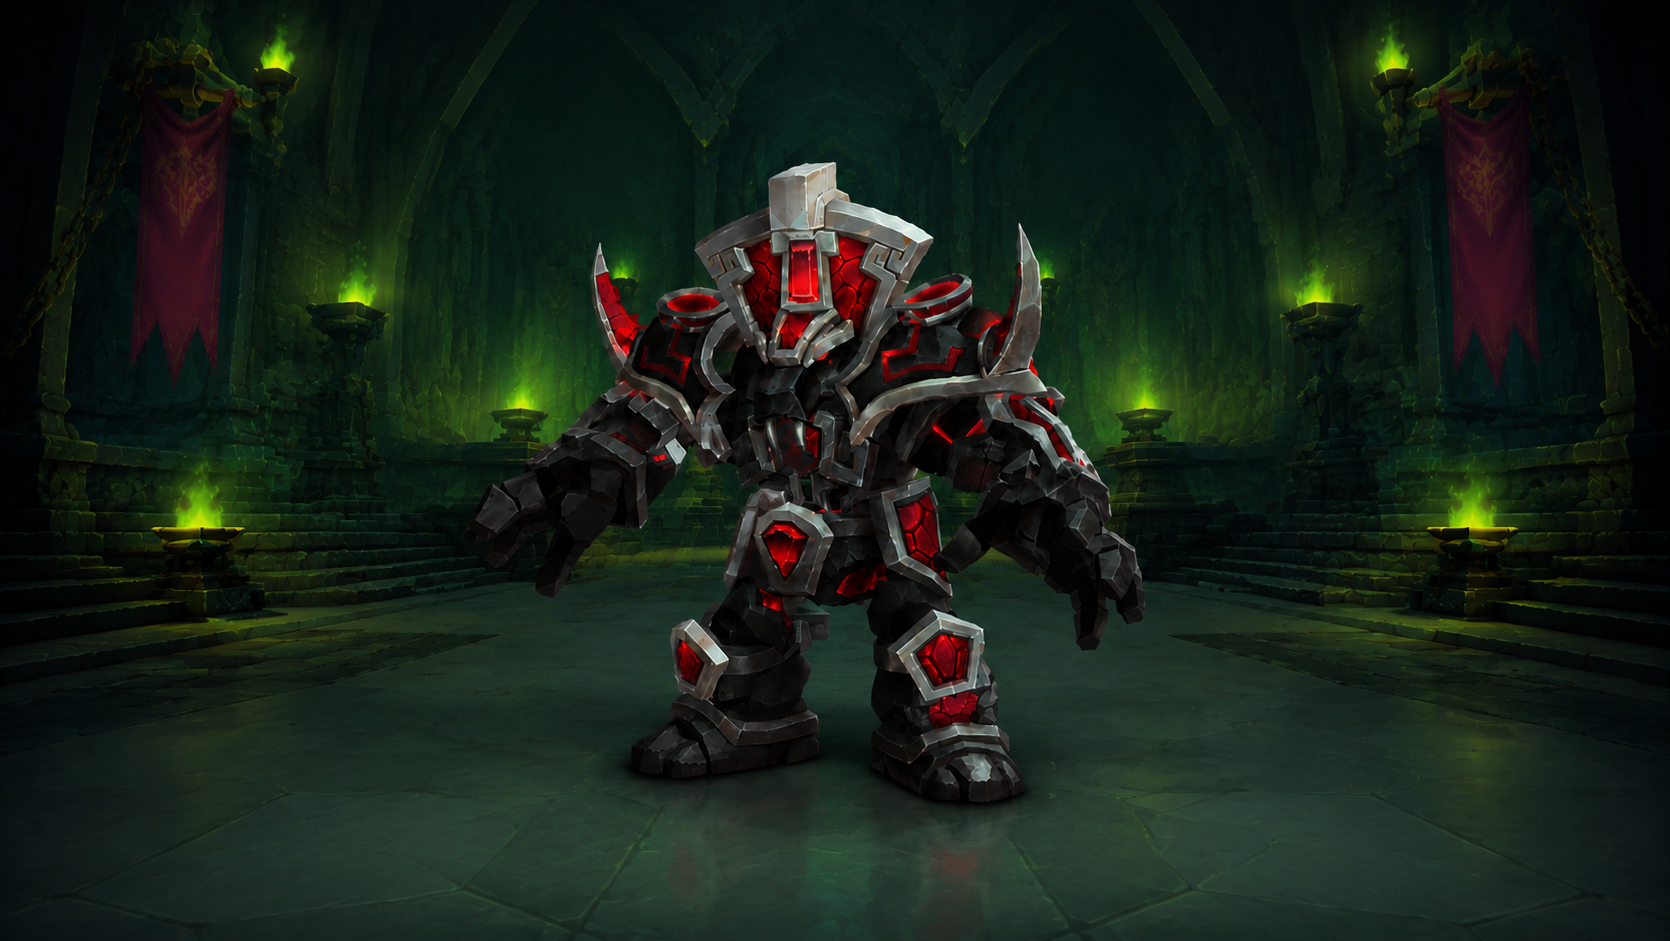
Two golems at once: Breath of Ula'tek (venom and acid) and Blood of Ula'tek (blood). Two tanks, two parallel mechanic sets and a shared positioning rule that defines the fight.
Positioning. Within about 25 yards of each other the Sentinels gain Ula'tek's Dominance, a 99% damage reduction, and early testing suggests they also begin healing each other. Keep a hard buffer between them, and don't drag them together to cleave, it just throws away your damage. Each boss also puts out a wide aura (Mark of Acid and Mark of Blood, stacking over time), and the real danger is standing in both auras at once.
Breath. Sprays Toxic Droplets in front of itself. Step on them to clear them safely, or they erupt into a raid-wide Noxious Blast. Assign droplet duty and mind the boss facing. Heroic adds Living Venom, a projectile that returns toward Breath after a few seconds, so stay out of its return path.
Blood. Applies Blighted Blood. Left undispelled it becomes Blood Venom and drops a toxic pool when it expires, bigger the longer it festered, so prompt dispels matter. Unstable Miasma marks a player and detonates after 8 seconds, splitting Shadow damage to anyone within 5 yards, so grouping to soak makes the resulting pools smaller.
The signature puzzle, Helical Toxins. It lands on several players and needs exactly 4 stacks. Colliding with another affected player combines your counts, so pair up as 2+2 or 1+3. Miss the number and it expires into a heavy Plague hit with a long DoT. Simple written down, punishing if you tunnel.
Priority add. Venom Coagulation spawns from Breath and channels Contaminate, raid-wide Nature damage that ticks until it dies, so it's always top kill priority. Some testing suggests the bosses reposition after an ability called Vitriolic Stasis, which reduces damage and heals the weaker golem to match the stronger, so keep tank assignments ready to re-establish spacing. There's a per-boss achievement tied to beating them even after that heal.
Boss 3: Vashnik the Malignant
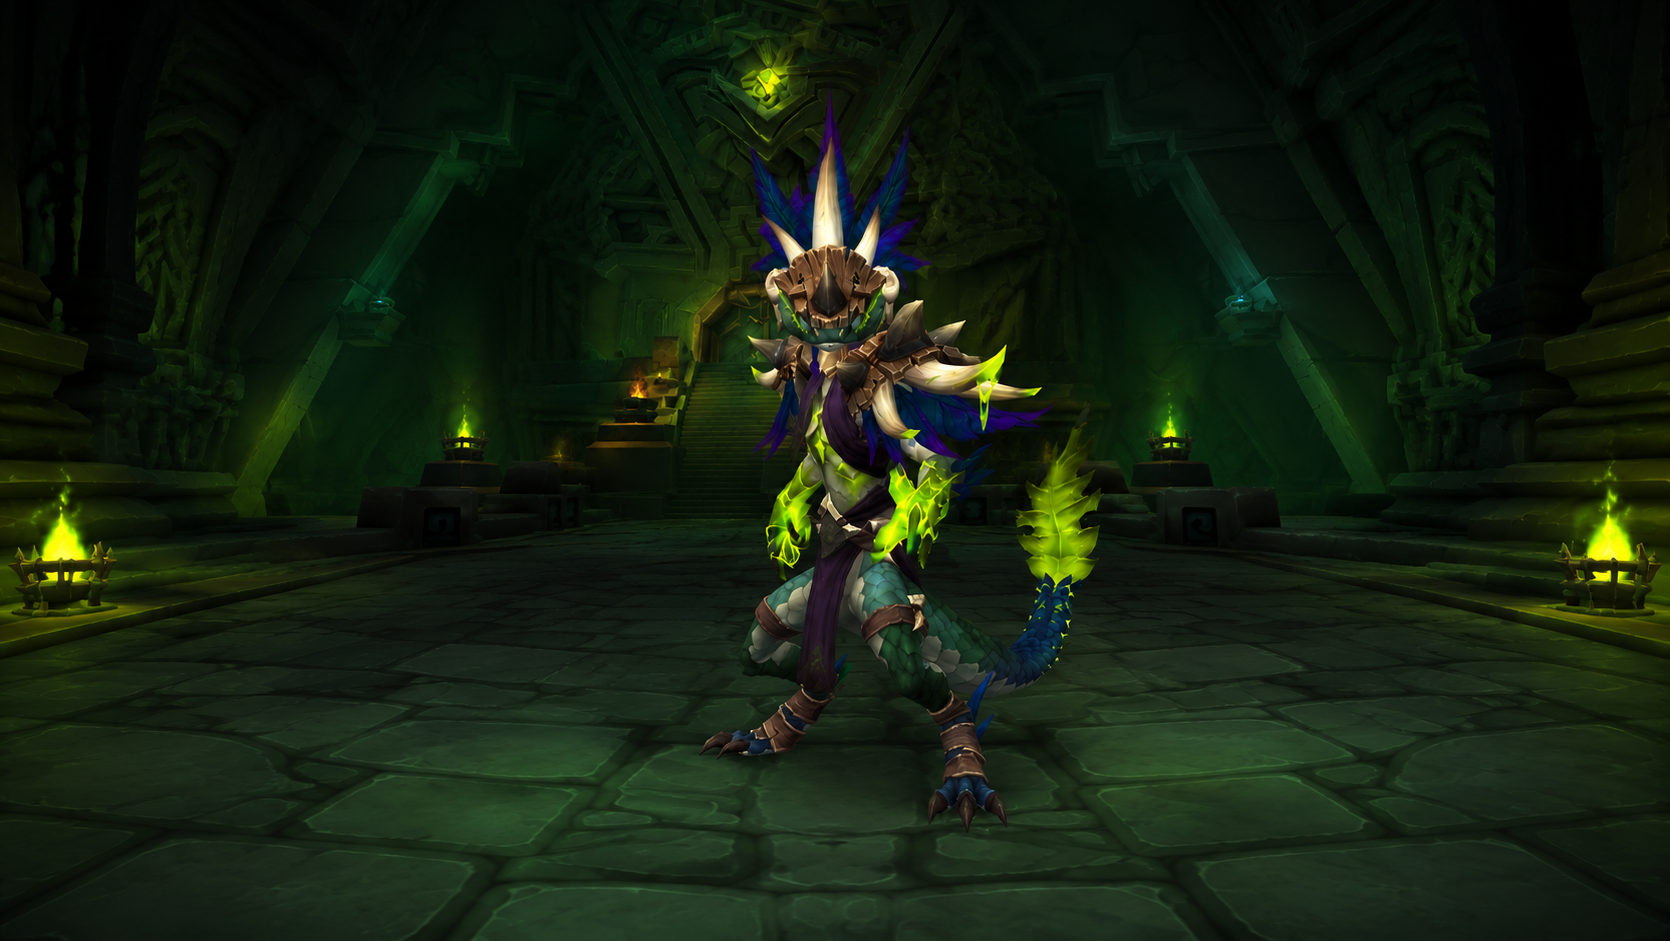
Vashnik works out of the Chamber of Virulence, distilling Ula'tek's venoms into worse ones. This fight has had less deep testing than the first two, so treat the specifics as lighter. The core loop that's surfaced: Vashnik draws from nearby venom fountains, and whichever pair he pulls from shapes the next stretch of the fight with different toxic zones and stacking venom debuffs. Expect the fight to reward efficient dispels, tight movement out of hazard zones and rotating your raid through safe spots. Dispellers are essential here.
Boss 4: The Lost Explorers
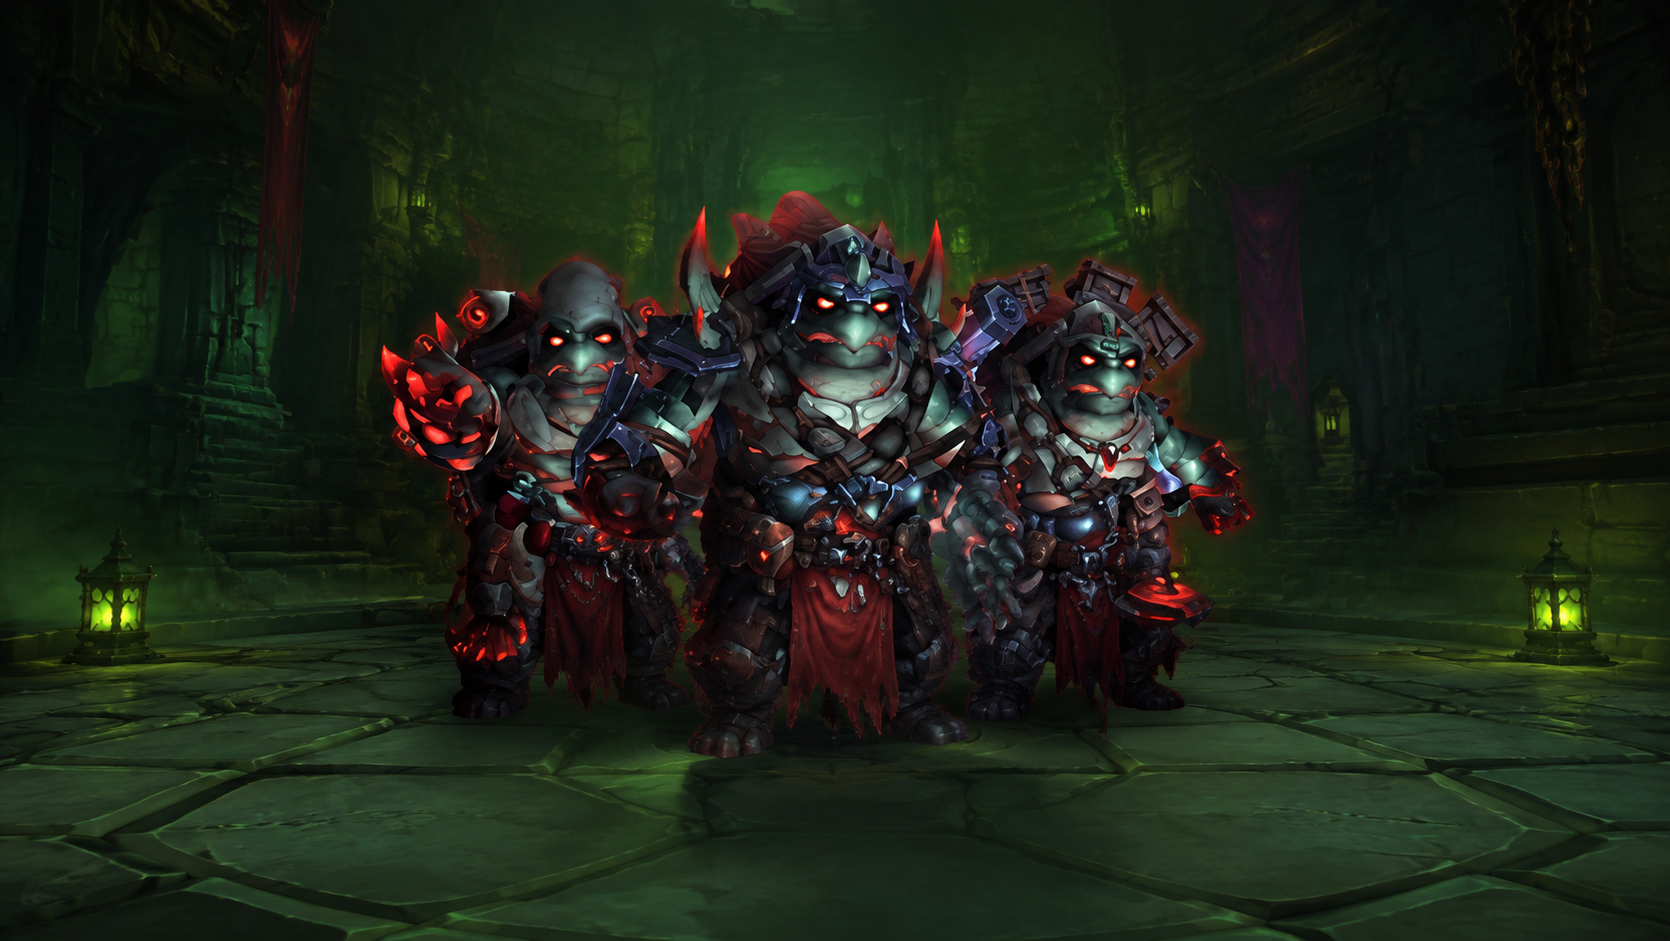
A band of tortollan explorers, led by Mor'zahi, possessed by a temple spirit. This is a multi-target add-control and priority fight rather than a burn, where crowd control and target order carry the encounter. Full mechanic details are still thin from testing, so this is one we'll flesh out as more data lands.
Boss 5: Sszorak
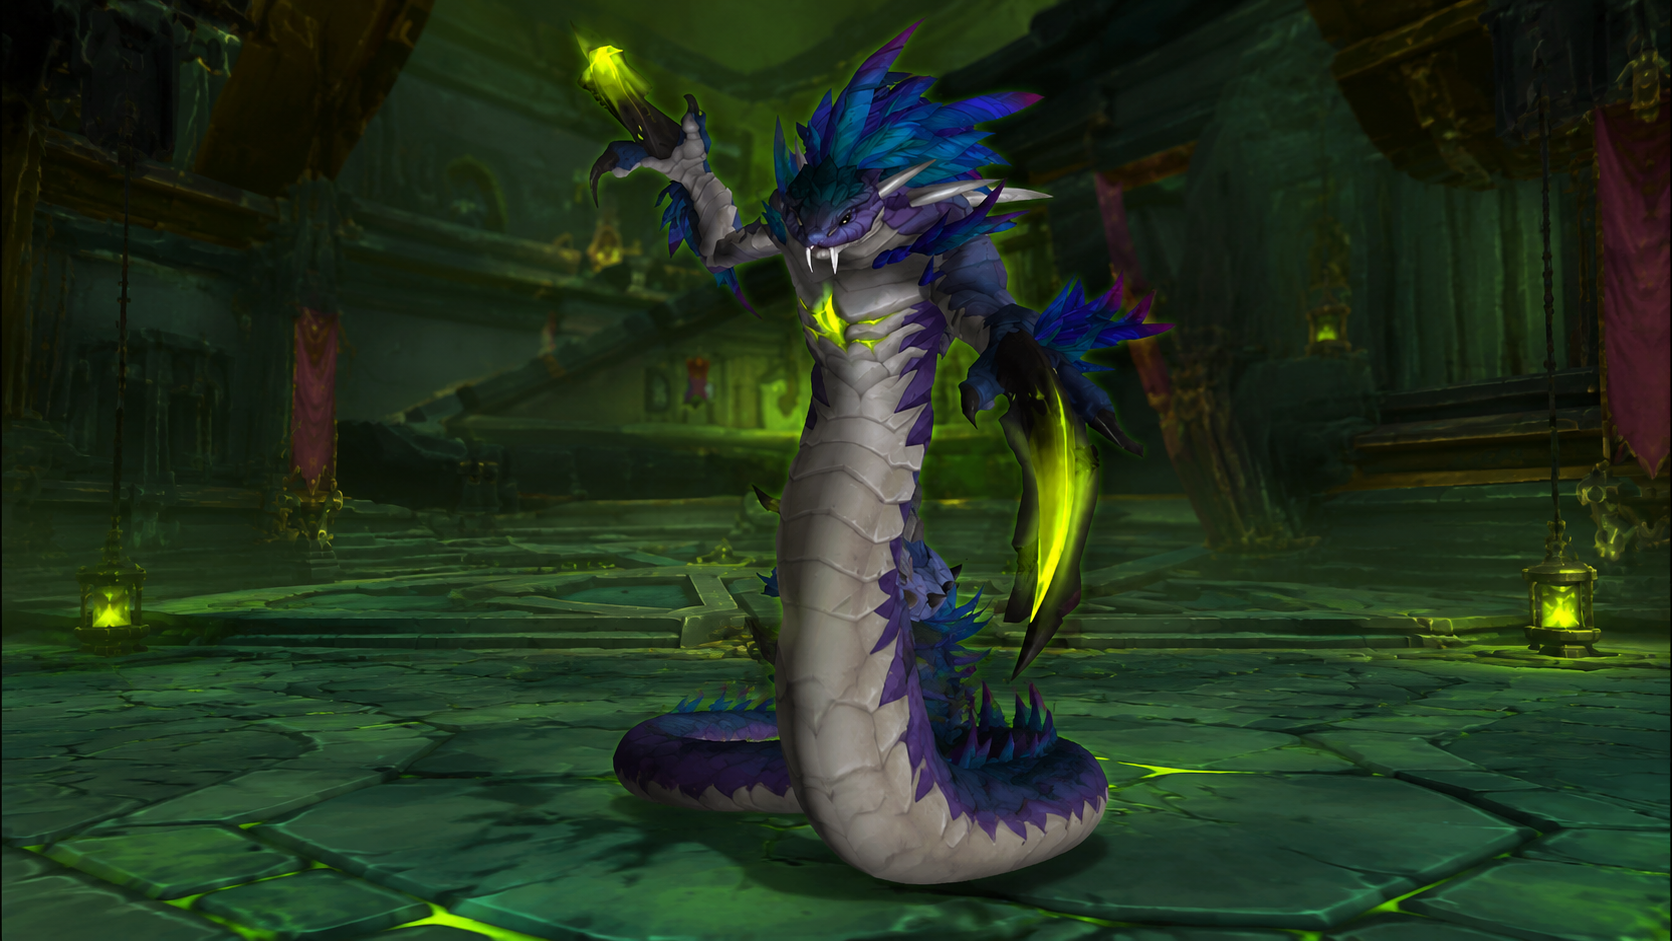
Sszorak is a venom-warped beast channeling Ula'tek's toxin into raw fury and howling wind, and it's the raid's first real jumping puzzle. It plays as more of a damage and survival check than a mechanics maze: heavy, consistent output layered with venom effects, defensive cooldown planning for tanks, and DPS managing their own survival buttons through the burn windows. There's a movement or ring mechanic tracked by its own achievement. Pre-potting and coordinated defensives are the usual advice for a check like this.
Boss 6: The Twin Fangs
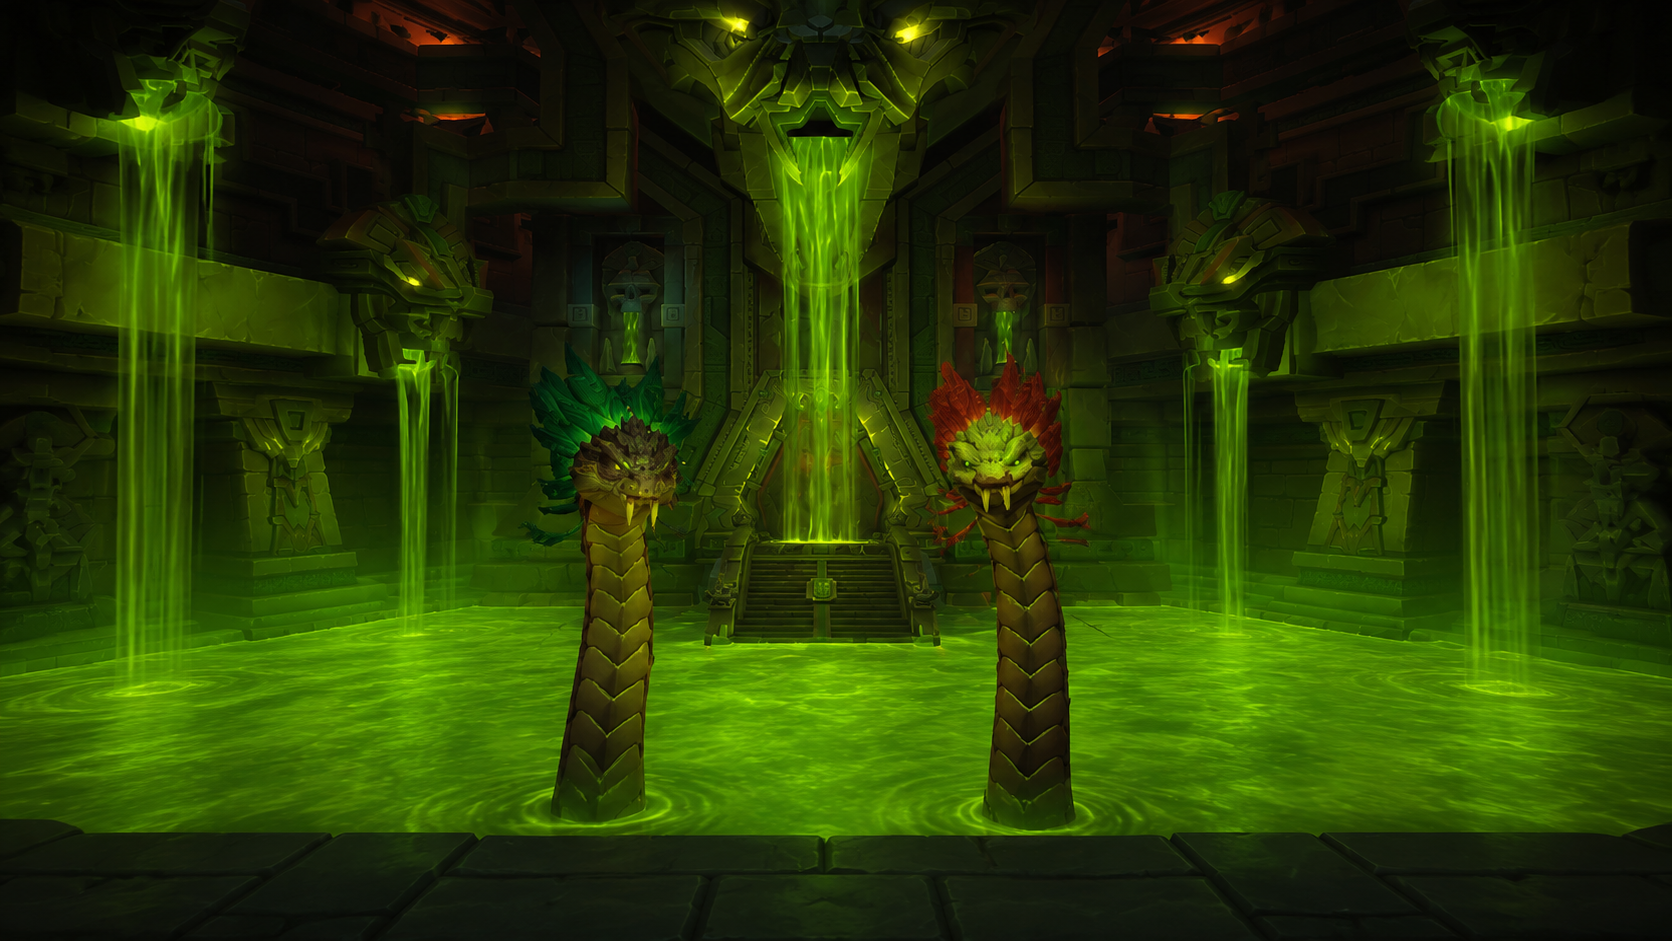
Vexhul and Ithraz, the first of Ula'tek's blood, brooding beneath a sea of venom. This is the raid's signature two-target cleave-and-tank-swap fight. The through-line from testing: the pair build a shared venom stack on the raid, and hitting the cap is an instant death rather than a heal check, so tracking everyone's stacks is the whole game. Position for their slam mechanic so someone is always in range, or the platform hits the entire raid instead, and manage the pair's synchronized attacks with clean tank swaps. There's a bonus achievement tied to feeding their mechanic in the correct order.
Boss 7: The Coiled Altar
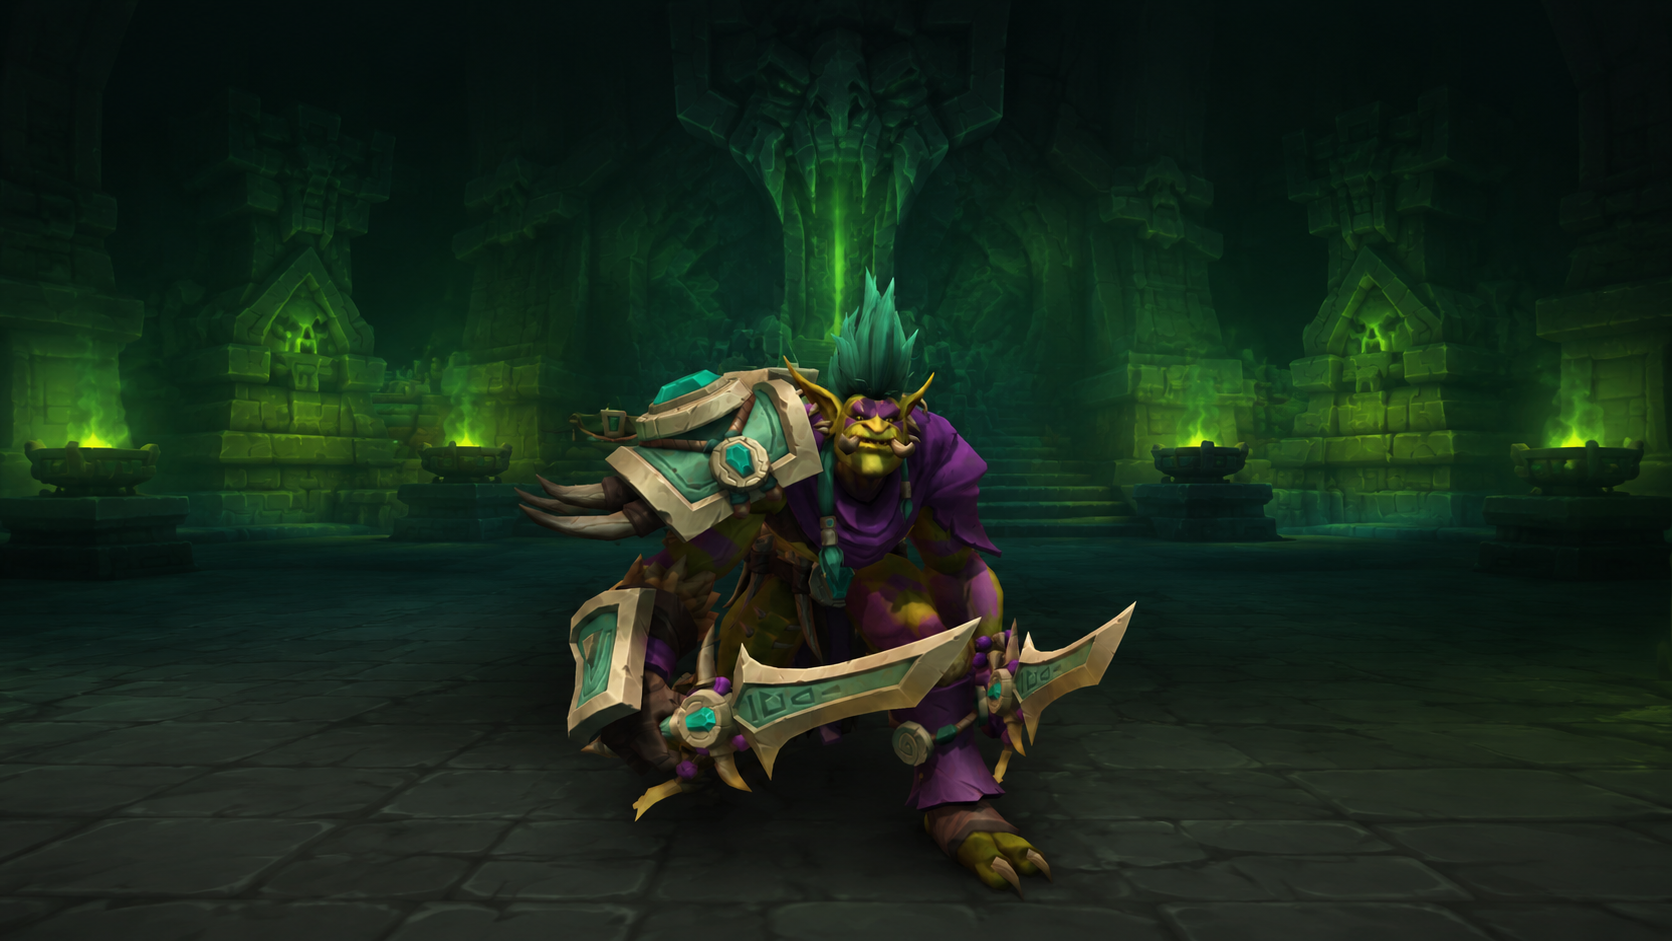
Zul'jan, still gripped by the spirit of Malacrass, forced to complete the ritual that frees Ula'tek. This is boss seven, the gate before the final fight, and it's one of the two encounters with the least public mechanic detail so far (its journal text still carried placeholder elements in recent builds). What's confirmed is the story role and the fight's place in the order. We'll add the mechanic breakdown once it's tested and stable.
Boss 8: Ula'tek, Final Boss
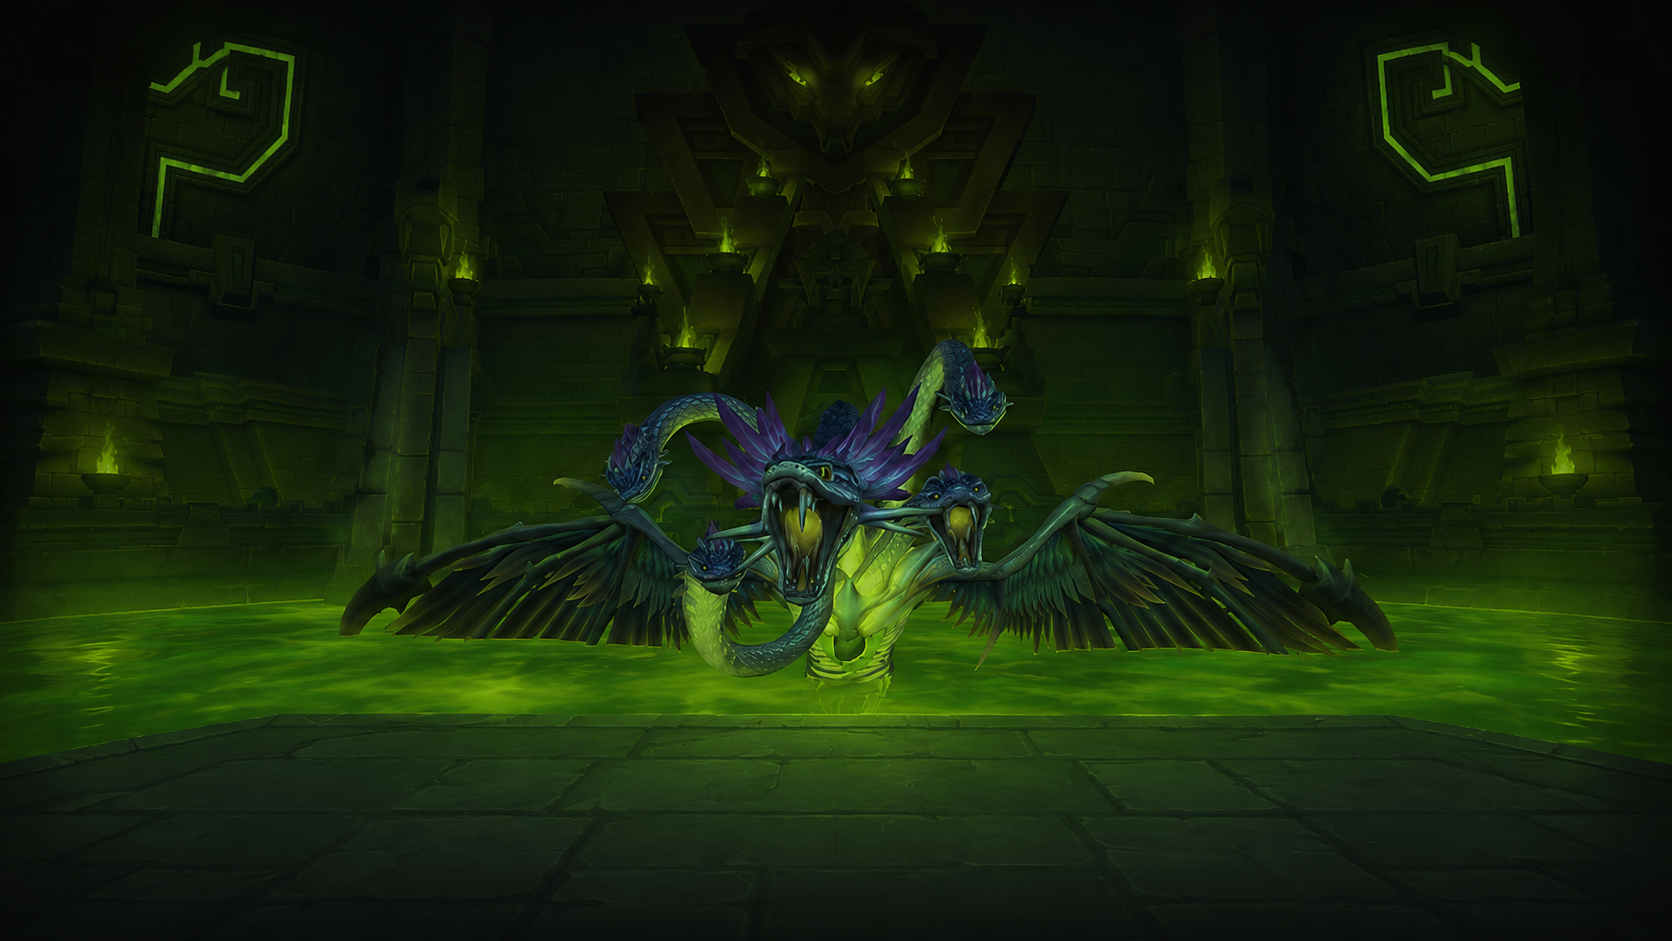
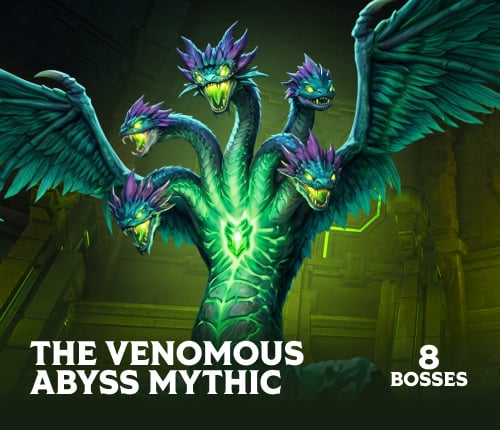
Ula'tek is not on the PTR and will not be tested before launch, so everything here is from her datamined encounter journal: the mechanic names are real, the numbers and pacing are not. She's a five-headed serpent goddess fought across three stages with two intermissions, and all her parts share one health pool the whole way through.
Stage 1, Fury of the Serpent Mother. Venom waves (Caustic Wingfall) hit on impact, tick for several seconds and instantly hatch any eggs they touch. Eggs (Devourer's Spawn) rain from the ceiling and tick Nature damage while carried, and on Mythic some become immovable and cross-hatch nearby carriers. Destroyed eggs burst into a raid-wide effect, and hatched eggs become venomous adds, some with a petrify on Heroic and up. Tanks manage a stacking stone venom slow, a rotating slam-and-knockback (Gore Rattle) that includes a stack-up soak, and the Stage 1 burn window opens when her Venomous Heart is exposed for +100% damage.
Intermission, Incubating Malice, then Stage 2, Children of the Doomscale. Doomscale Wardens cast interruptible abilities, reposition, and grow more eggs, with a long root added on Heroic. Dead Wardens leave a pheromone puddle, so don't kill them in the stack. A disturbed egg can spawn a bigger add whose gestation, if disrupted, doubles its damage taken but triggers a raid-wide stun, so timing matters.
Intermission, The Shattering, then Stage 3, Ula'tek's Ascension. Stage 1 mechanics return, plus a mechanic that turns players to stone if not healed in time and then erupts on nearby players, plus a shrinking platform as she destroys parts of the arena, plus a major raid-wide hit to treat as a cooldown trigger. Constant chip damage runs the entire fight, so healers should plan for attrition, not just spikes.
Roles. Tanks manage the stone venom and stay in range to avoid tank mechanics spilling onto the raid. Healers plan around constant drain plus big scripted bursts. DPS prioritize the dangerous hatched adds and disrupted Doomscales, keep eggs away from venom, and burn during the exposed-heart windows.
Loot and gearing changes for Season 2
Season 2 keeps the same gearing skeleton with a higher ceiling and a few real changes:
- Item levels: Raid Finder 279, Normal 292, Heroic 305, Mythic 318, upgradable to 335, with special upgrades reaching 344. The very top rewards (and the final two bosses' drops) sit at the highest step
- Bonus Rolls are a Great Vault option from week one, not a Week 8 unlock like Season 1. From Week 8, Orin Straylight near the Catalyst in Silvermoon also hands out one weekly bonus roll, so you don't have to travel for it
- Bonus-rolling a raid boss costs 1 token instead of 2
- Vault and bonus-roll rewards jump to the first step of the next upgrade track, with Heroic giving a Myth-track piece and Mythic giving a maxed one
- Ascendant Venomstones replace Voidcores as the currency for maxing Hero and Myth gear, and now cover necklaces alongside weapons and trinkets
- The Midnight Catalyst now keeps the donor item's secondary stats (and cantrip effects) when it converts gear into a tier piece, which changes what's worth farming outside the raid
- Crests use the flat per-rank system live servers use now. A scaling cost briefly reappeared on an early PTR build but was reverted, so the standard system looks set to carry into Season 2
Tier sets and tokens
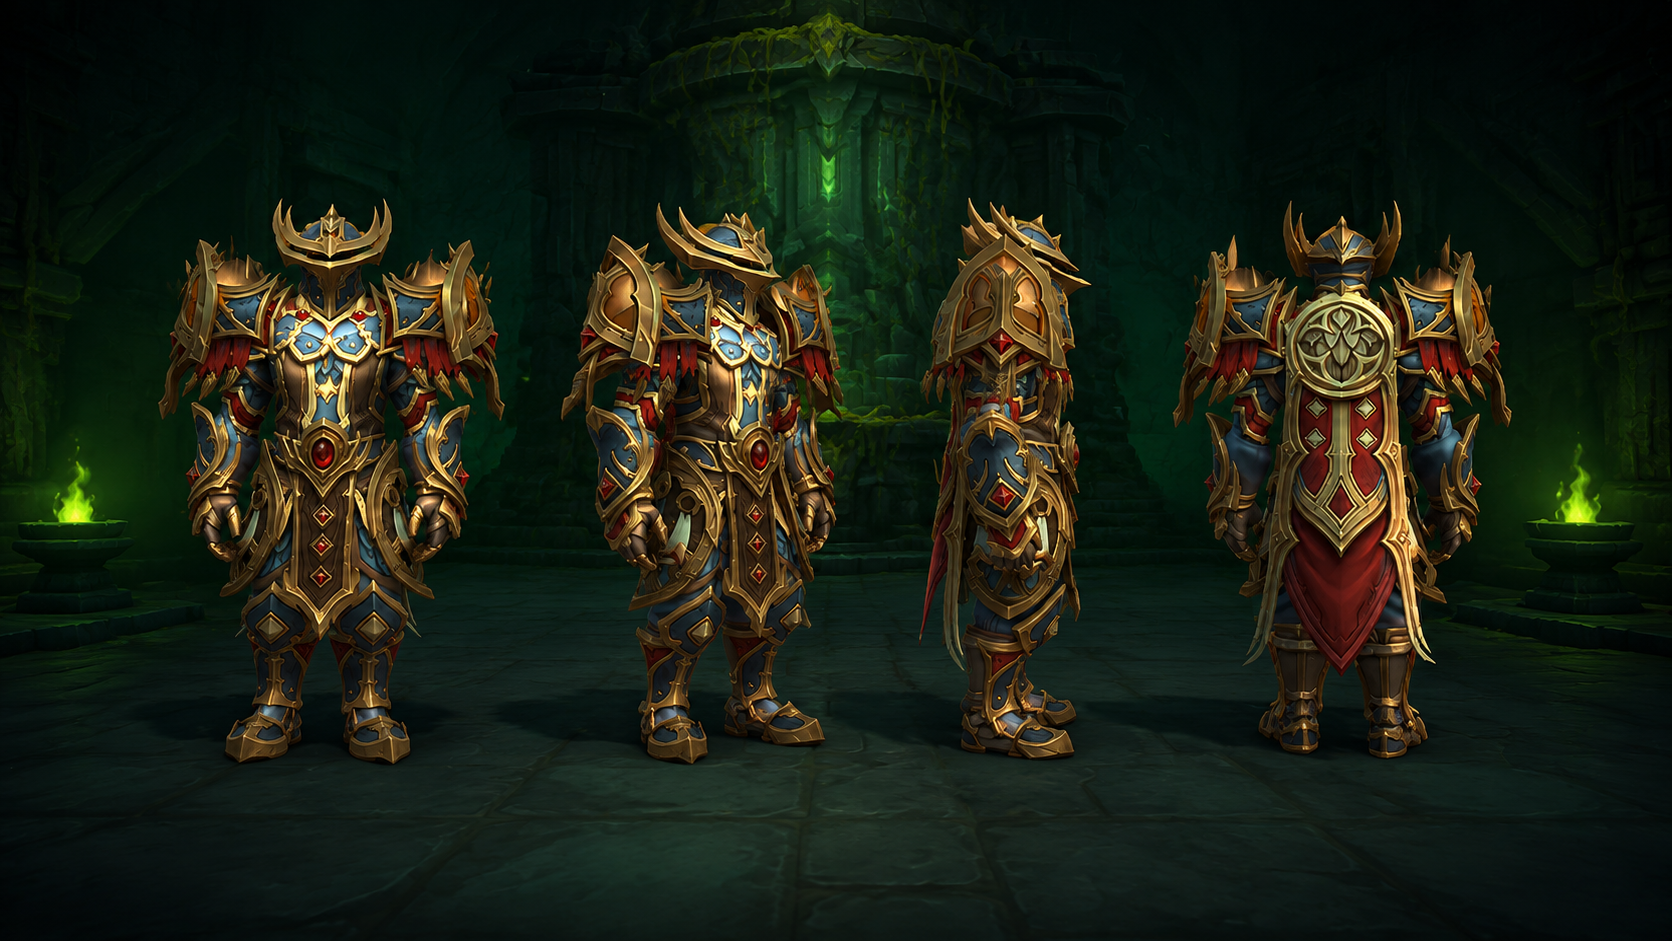
Tier tokens drop across five of the eight bosses: Entombed Sentinels (Gloves), Vashnik (Chest), Lost Explorers (Shoulders), Sszorak (Legs) and Twin Fangs (Helm). The Catalyst covers any missing slot. Blizzard's stated goal for the Season 2 sets is steadier, more consistent output rather than burst windows, and several 4-set bonuses rewire spec rotations rather than adding a flat number, so check your set interactions before you pull. The datamined Season 2 set names by class:
Class | Season 2 Tier Set |
Death Knight | |
Demon Hunter | |
Druid | |
Evoker | |
Hunter | |
Mage | |
Monk | |
Paladin | |
Priest | |
Rogue | |
Shaman | |
Warlock | |
Warrior |
Set names and bonuses are still subject to change before launch.
Achievements and the final-boss rewards
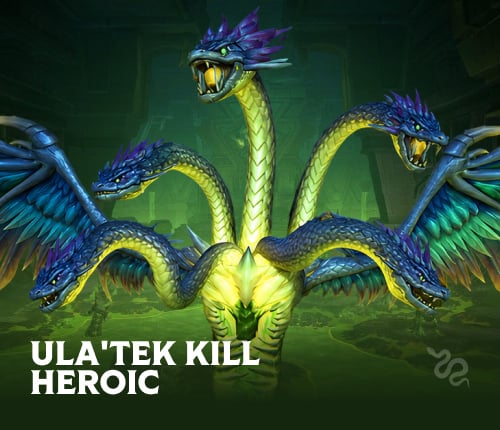
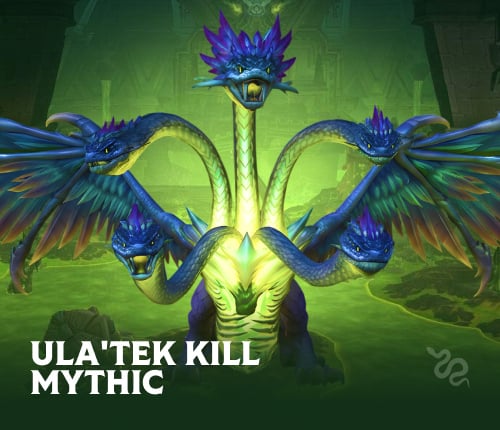

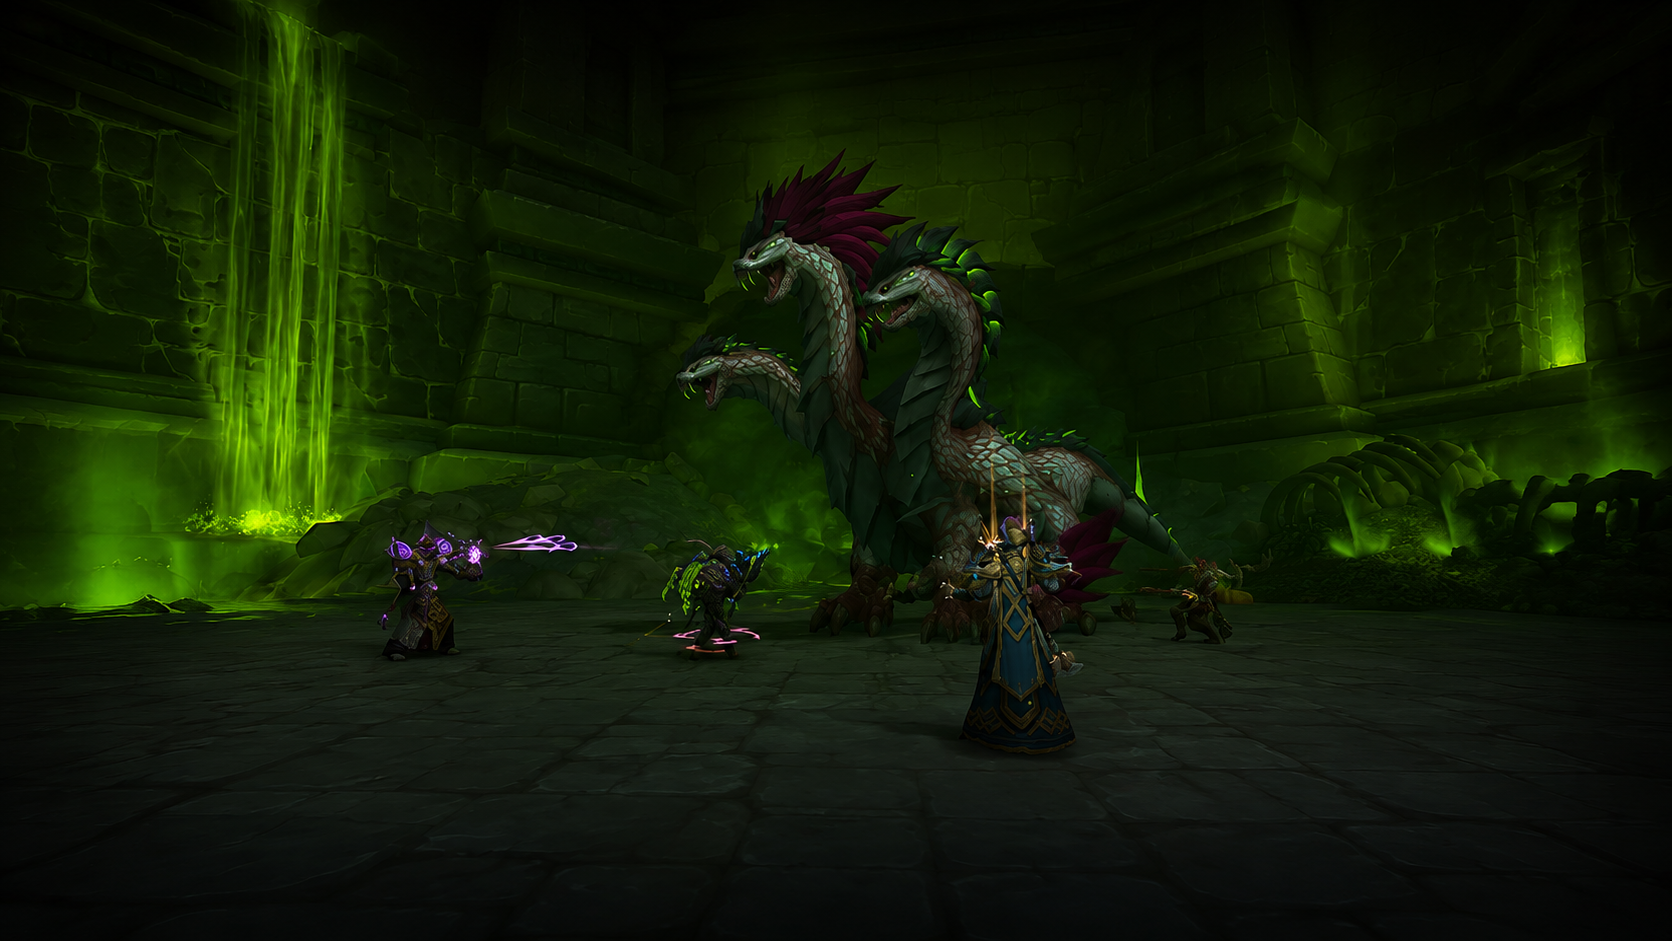
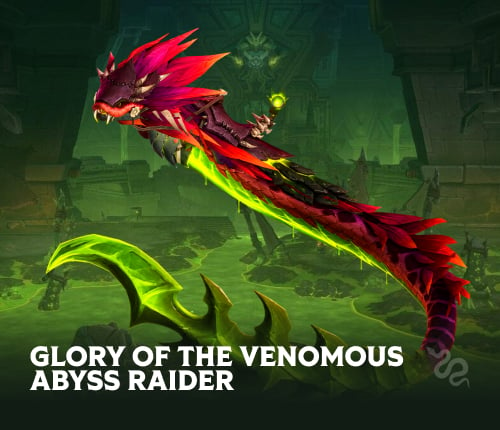
Ahead of the Curve and Cutting Edge are tied to killing Ula'tek on Heroic and Mythic respectively, and both are seasonal, so they stop being earnable when the next tier opens. Several per-boss achievements exist too, including one for beating the Entombed Sentinels even after they heal past half through Vitriolic Stasis, and the meta achievement (Glory of the Venomous Abyss Raider) awards a mount for clearing the raid's challenge tasks. Ula'tek is also the source of a Mythic-only flying mount and the raid's highest-end loot, which makes her the real prestige target of the tier.
Skip the progression grind
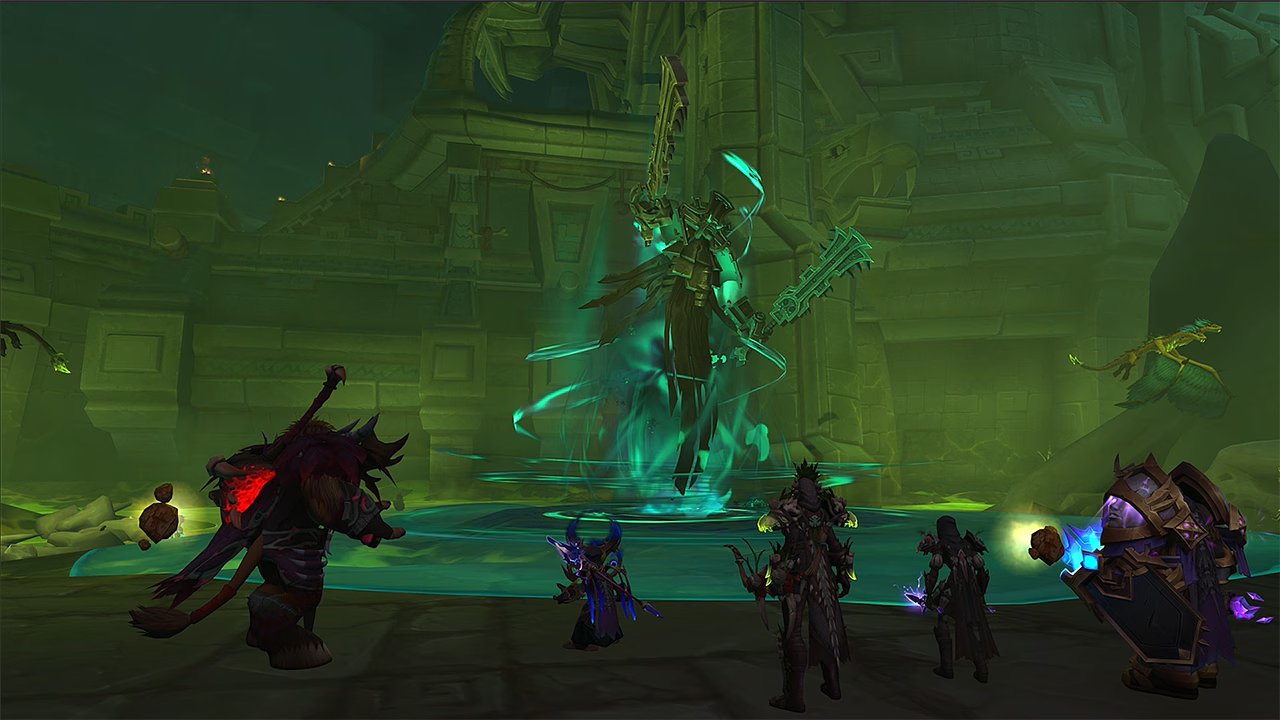
A new raid tier means weeks of pug progression, wipes on mechanics that aren't even tuned yet, and competing with your whole realm for the same early kills. If you'd rather land the rewards without the grind, our teams run The Venomous Abyss across every difficulty once it's live: Normal for a clean entry into the season's gear and the housing decor drops, Heroic for the main gear path and Ahead of the Curve, Mythic for the top item levels and Cutting Edge, single-boss runs if you only need a specific drop or tier slot, and the full Glory meta for the mount.
FAQ
![[BUNDLE] Ultimate Gold + FREE GOLD](/image/catalog/midnight_s2/ultimate_gold___free_gold.jpg)

HOW MANY BOSSES ARE IN THE VENOMOUS ABYSS?
Eight: Nek'zali the Soulcoiler, Entombed Sentinels, Vashnik the Malignant, The Lost Explorers, Sszorak, The Twin Fangs, The Coiled Altar and Ula'tek. Seven were tested on the PTR; Ula'tek stayed locked until launch.
WHAT ITEM LEVEL IS THE VENOMOUS ABYSS?
On the PTR: Raid Finder 279, Normal 292, Heroic 305 and Mythic 318, with Mythic gear upgradable to 335 and special upgrades reaching 344. These are PTR values and may shift before launch.
WHEN DOES THE VENOMOUS ABYSS RELEASE?
With the start of Midnight Season 2, one week after Patch 12.1: Curse of Ula'tek. The patch is currently expected around mid-August 2026, though Blizzard has not confirmed a date.
WHAT IS THE HARDEST BOSS IN THE VENOMOUS ABYSS?
Ula'tek is the final and most complex fight, a three-stage encounter with egg management, add waves and a shrinking platform, but she was never tested on the PTR, so her real difficulty is unknown. Among tested bosses, Entombed Sentinels and The Twin Fangs demand the most precise positioning.
DOES THE VENOMOUS ABYSS DROP TIER SETS?
Yes. Tier tokens drop from five bosses (Entombed Sentinels, Vashnik, Lost Explorers, Sszorak and Twin Fangs), and the Midnight Catalyst can convert other gear into any missing slot. Season 2 sets are designed around steadier output, with several 4-set bonuses changing how specs play.
 Home button in top-left corner of discord.
 at the side bar.
 button in top middle corner of Discord.