Work with us


How to Beat Nullaeus in Torment's Rise: WoW Midnight Nemesis Delve Guide
6 min read
My Experience with Nullaeus
I am going to be honest with you, Nullaeus killed me a lot more than I expected going in. I had just finished clearing Tier 8 delves comfortably and figured the Nemesis boss would be a step up but manageable. It was definitely not manageable, at least not at first.
The fight looks simple on paper, only boss, a few adds, some floor mechanics. But the struggle gets real because everything layers on top of itself and never stops. If you miss one interrupt on Emptiness of the Void, you are dead. Let the Razorshell Ravagers live too long and you are juggling three enemies with a void zone eating a third of the room. Get pulled into the Black Hole at the wrong moment and you are standing in something that kills you before you can move.
After about six or seven attempts I started to get a hang of the fight and once I understood how the intermissions work, everything started to click, so practice makes perfect. This guide is what I wish someone had told me before my first pull.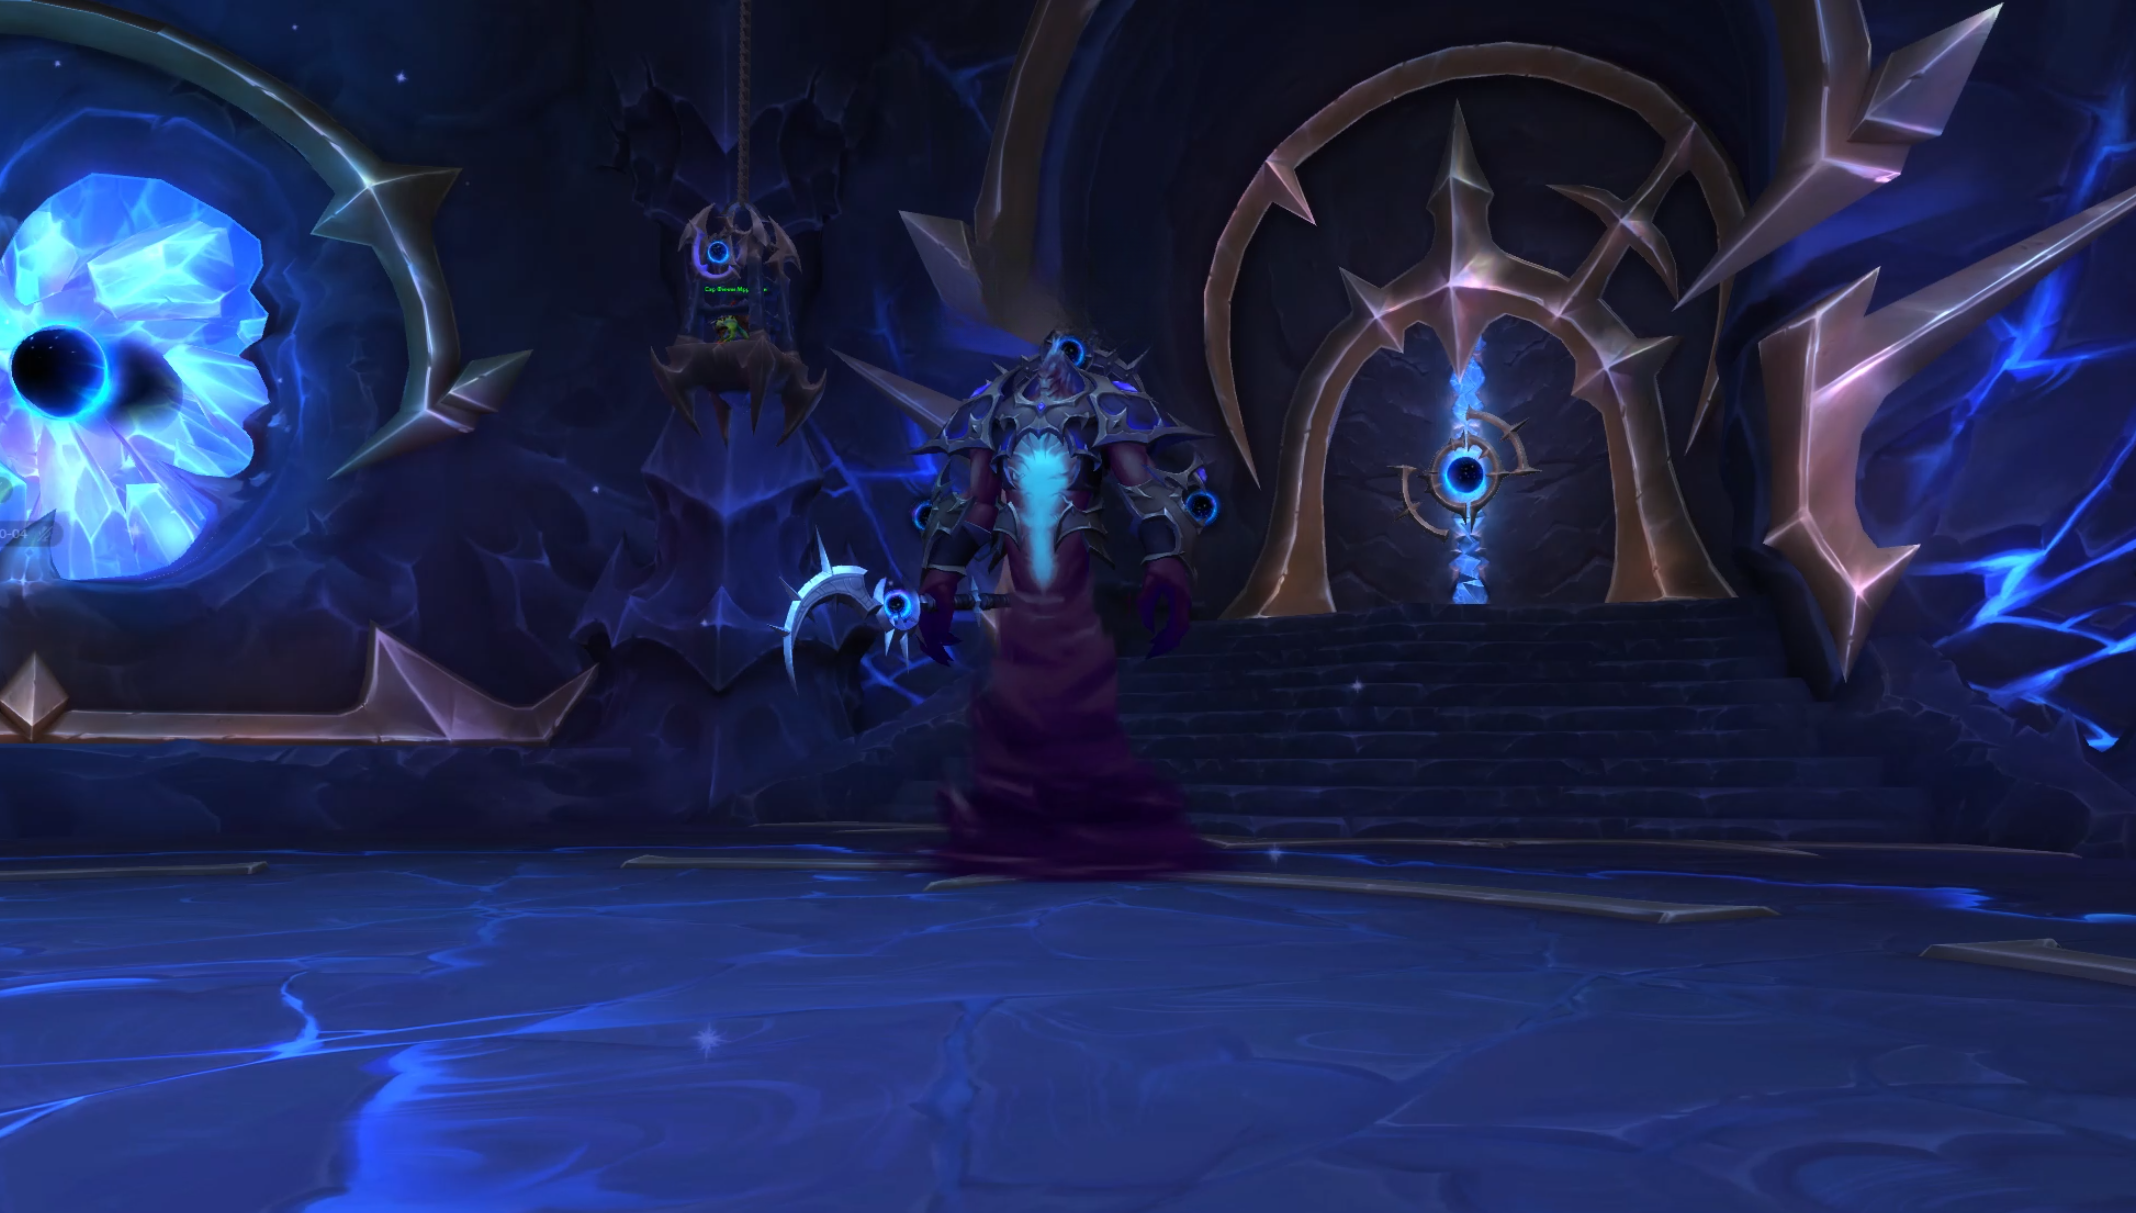
Key Takeaways
Nullaeus is the Season 1 Nemesis Delve boss in WoW Midnight, located in Torment's Rise in Voidstorm at /way #2405 61.17 71.37
Two difficulties: Tier 8 (recommended ilvl 255) and Tier 11 (recommended ilvl 274), formerly known as "?" and "??"
Unlock Tier 8 by clearing any Tier 7 Delve with at least 1 life remaining. Unlock Tier 11 by clearing a Tier 10 Delve with 1 life remaining
The fight has 3 intermission phases at 75%, 50% and 25% health, each adding permanent mechanics to the arena
Killing Nullaeus for the first time rewards 30 Hero Dawncrests that do not count toward the seasonal cap
Solo Tier 11 kill rewards the Arcanovoid Construct mount via the Let Me Solo Him: Nullaeus achievement
Set Valeera to Healer if you are DPS or Tank. Her dispels on Devouring Essence and Jagged Rip bleeds are extremely helpful
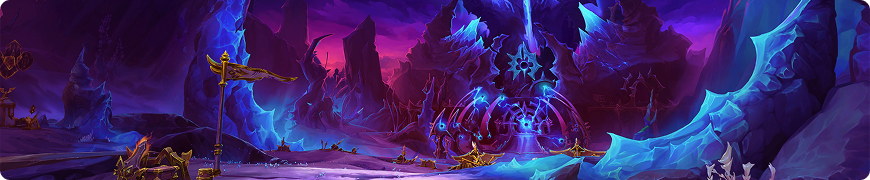
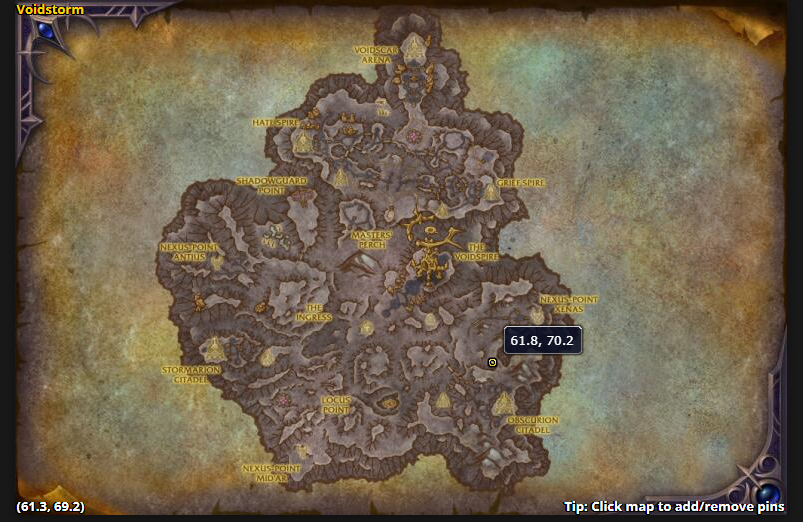
Torment's Rise Location
Torment's Rise is in the Voidstorm zone, southeast corner, just a little north of Obscurion Citadel between it and Nexus Point Xenas. You can fly straight there from anywhere in Voidstorm.
/way #2405 61.17 71.37
The entrance is a dedicated Nemesis Delve portal, it looks different from regular Delve entrances and will show your unlock status when you approach it. You cannot stumble into it by accident.
How to Unlock Nullaeus
One does not simply walk into Torment's Rise on day one. There are two unlock gates tied to your Delve progression in Season 1:
- Tier 8 (the "?" difficulty): Complete any Tier 7 Delve with at least 1 life remaining. Recommended ilvl 255
- Tier 11 (the "??" difficulty): Complete any Tier 10 Delve with at least 1 life remaining. Recommended ilvl 274
If you have been running Delves regularly through Season 1 you have probably already hit the Tier 8 unlock naturally. Tier 11 is the real gate because clearing a Tier 10 cleanly with a life left requires solid gear and mechanical execution.
Nullaeus can also randomly appear in any Tier 8 or higher regular Delve, so you might have already fought a version of him without going to Torment's Rise specifically. You can also buy a Beacon of Hope from Naleidea Rivergleam at the Delver's Headquarters in Silvermoon for 5,000 Undercoins, which lets you summon Nullaeus into any regular Delve after the checkpoint. Some players use this to fight him in a more familiar environment before committing to Torment's Rise.
Nullaeus Boss Mechanics
The fight is divided into clear phases. Nullaeus becomes immune at 75%, 50% and 25% health, triggering an intermission each time. Every intermission adds a permanent mechanic to the arena that stays active for the rest of the fight. This is what makes the encounter so punishing. By the final phase you are dealing with the boss, leftover adds if you were slow, a rotating void zone covering a third of the room and a bouncing Black Hole that pulls you into everything.
Base Abilities (Active in Every Phase)
Nullaeus uses three abilities on roughly 20 second cooldowns whenever he is targetable. The rotation is always the same: Devouring Essence, then Emptiness of the Void, then Imploding Strike.
Emptiness of the Void is the one that will kill you. It is an interruptible AoE cast that deals enough shadow damage to one shot most players at current gear levels. You must interrupt this every single time. There is no margin for error. If your interrupt is on cooldown when this comes out, you are dead. Plan your interrupt usage around this cast above everything else.
Devouring Essence is an uninterruptible cast that applies a shadow DoT ticking every 2 seconds for 18 seconds. The damage adds up fast when you are already taking pressure from adds and floor mechanics. Dispel it if you can. If Valeera is set to Healer, she will handle this for you, which is one of the main reasons I recommend that setup.
Imploding Strike hits the highest threat target (you, or Valeera if she is tanking) for heavy physical damage. If you are a tank spec, keep a defensive ready for each one.

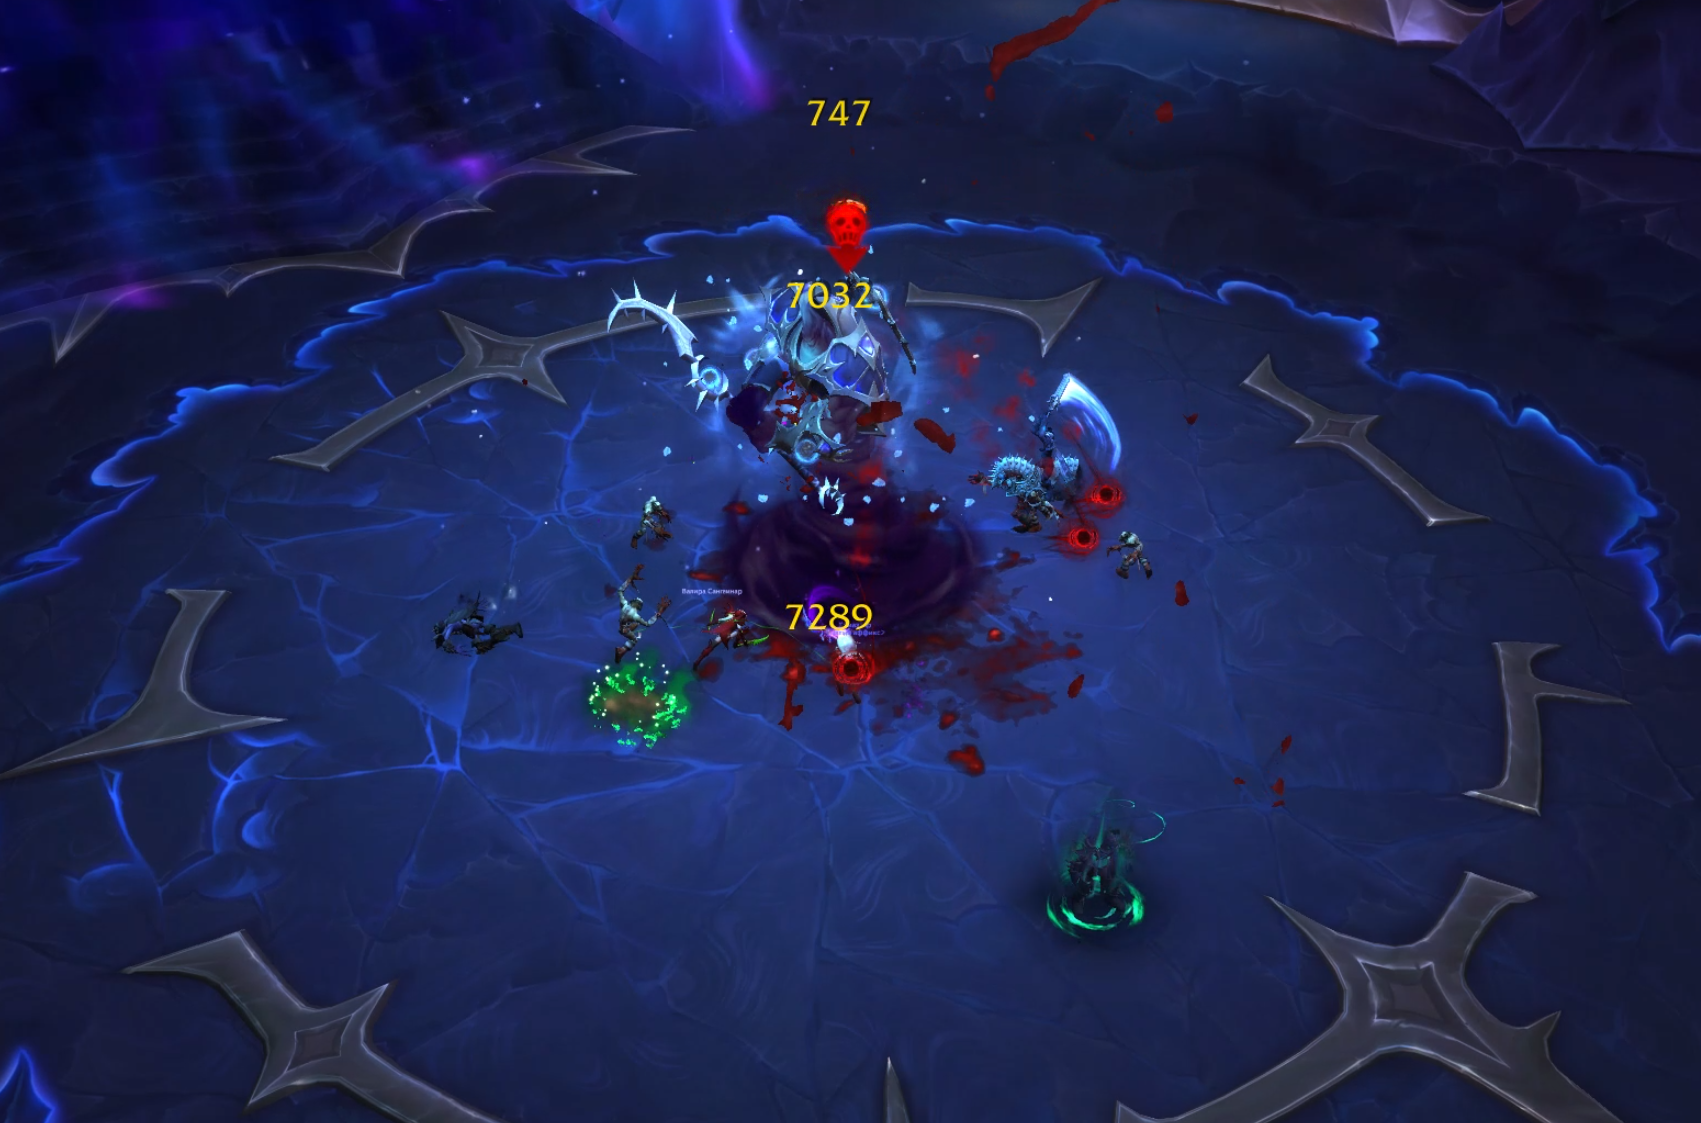
Intermission 1 (75% Health)
Nullaeus goes untargetable and starts channeling into a Void Orb. Two Razorshell Ravagers spawn, and they are the most dangerous adds in the fight.
They use Spiny Leap, which targets the furthest player (or Valeera) and puts a circle on the ground. Sidestep it. They also use Jagged Rip, a cast that applies a nasty bleed to the closest target. If you are melee, move out during the cast to push the bleed onto Valeera instead. If Valeera is Healer, she can dispel the bleed too.
About 15 seconds after the adds spawn, the Void Orb fills a third of the room with a void zone. This zone rotates to a different third after a while and keeps cycling for the rest of the fight. It never picks the same section twice in a row, so if you are standing where the void zone just was, you are safe for a bit.
What I learned the hard way: Kill these Ravagers before Nullaeus comes back. If both adds are still alive when the boss becomes targetable again, you are fighting three enemies while dodging void zones and it spirals out of control fast. I died twice to this exact scenario before I started saving cooldowns for the add spawn.
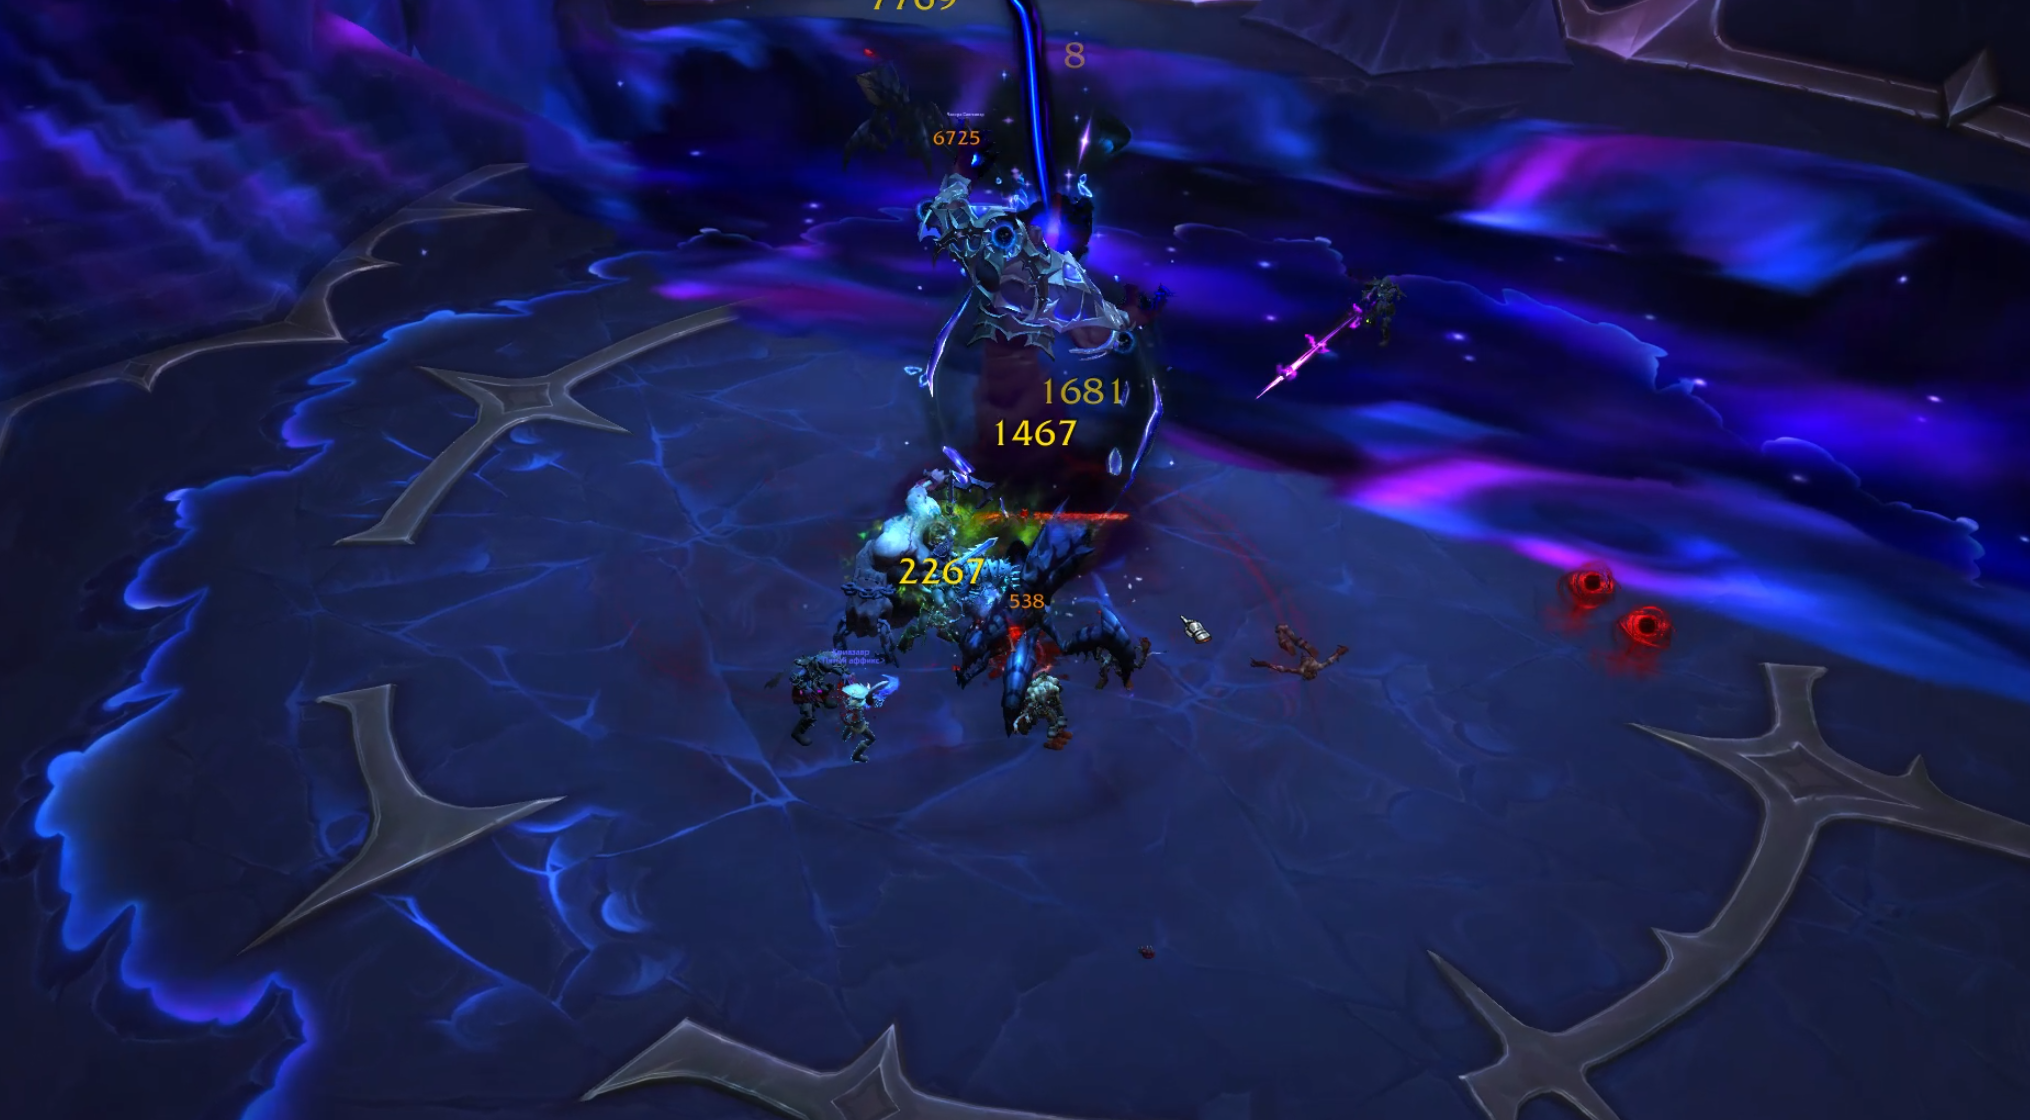
Intermission 2 (50% Health)
Nullaeus channels into a second Void Orb and summons 7 Spitting Ticks. Each one uses Poisonous Spit. Individually they hit for moderate damage. But seven of them casting at the same time will absolutely combo you to death if you do not thin the pack quickly.
Defensives are not optional here, so use AoE, use CC, use everything you can think of. These ticks are squishy but lethal in numbers.
About 15 seconds later the second Void Orb spawns a Black Hole that bounces around the room. It pulls you toward it and the pull gets stronger the closer you are. It does not seem to deal direct damage but the pull will drag you into void zones, add cleaves and other mechanics you were carefully avoiding.
What I learned the hard way: Save a movement ability for the Black Hole. The pull feels manageable at distance but if it bounces near you while you are in the middle of casting or killing ticks, it yanks you across the room. I got pulled into a void zone and died with Nullaeus at 30%. Brutal.
Intermission 3 (25% Health)
Nullaeus goes untargetable one last time and summons an Enslaved Voidcaster. This add has a lot of health and three abilities: Shadow Bolt (interruptible), Shadow Crash (circle to dodge) and Curse of Hesitation (a 5 minute curse that slows your movement by 30%).
Here is the critical tip that took me an embarrassing number of wipes to figure out: interrupt the Voidcaster's first cast, then stop interrupting it entirely. You need your interrupt off cooldown for when Nullaeus comes back and casts Emptiness of the Void. If you waste your kick on the Voidcaster and Nullaeus returns with an immediate Emptiness cast, you die. Simple as that.
There is no third Void Orb added here. You are just dealing with the Voidcaster add, the rotating void zone from intermission 1 and the bouncing Black Hole from intermission 2.
When Nullaeus comes back for the last time, pop everything. Heroism, Bloodlust, drums, potion, every offensive cooldown you have. Burn Nullaeus as fast as possible. The Enslaved Voidcaster is immune to CC and has too much health to be worth killing first. Ignore it. Focus all damage on the boss and finish him before the combined pressure of the Voidcaster, void zones and Black Hole overwhelms you.
This is a pure DPS race and the tighter your execution was in earlier phases (killing adds fast, avoiding unnecessary damage) the more health and resources you have left for this final burn.
Strategy Summary
Phase 1 (100% to 75%): Interrupt Emptiness of the Void. Dispel Devouring Essence. Damage boss.
Intermission 1 (75%): Kill Razorshell Ravagers fast. Dodge void zone when it spawns.
Phase 2 (75% to 50%): Same as Phase 1 but now dodge rotating void zone.
Intermission 2 (50%): AoE and CC the 7 Spitting Ticks immediately. Avoid Black Hole.
Phase 3 (50% to 25%): Same abilities but now dodge void zone AND avoid Black Hole pull.
Intermission 3 (25%): Interrupt Enslaved Voidcaster once, then save interrupts for boss. Dodge everything.
Final Phase: Pop all cooldowns, ignore the Voidcaster, burn Nullaeus before you get overwhelmed.
Tier 11 Difficulty
The Tier 11 version is mechanically identical to Tier 8. Same phases, same adds, same abilities. The only difference is everything hits significantly harder. Emptiness of the Void is a guaranteed one shot if you miss the interrupt. The Black Hole pull feels noticeably stronger. The ticks do more damage. It is not a new fight, it is the same fight with zero room for mistakes.
If you can clear Tier 8 consistently without dying, you are mechanically ready for Tier 11. The question is whether your gear can handle the increased damage. At 274+ ilvl it becomes doable but still demands clean play throughout all four phases.
Best Valeera Setup for Nullaeus
This is where I wasted time early on because I had Valeera set wrong and it made the fight way harder than it needed to be.
If you are melee DPS or a tank: Set Valeera to Healer. She will dispel Devouring Essence automatically, which removes a huge chunk of incoming damage. She also cleanses the Jagged Rip bleed from the Razorshell Ravagers. You handle the interrupts on Emptiness of the Void yourself.
If you are a healer: Set Valeera to DPS so she can interrupt every Emptiness of the Void for you. You handle Devouring Essence dispels yourself.
If you are ranged DPS: It depends on your interrupt cooldown. If you struggle to cover every Emptiness cast, set Valeera to DPS and let her handle interrupts. Some ranged classes might want Valeera as Tank if survivability is the issue. Pet classes often do best with Valeera on Healer since the pet can hold aggro.
For curios, Porcelain Blade Tip is the best combat curio for the crit increase. Mandate of Sacred Death is the best utility curio because it deals 1% of the target's max health as holy damage on proc, which helps a lot on a long fight. If you need more defensives, Time Lost Edict gives you a bubble that increases movement speed and reduces your cooldowns.
Torment's Rise Rewards
The rewards here are genuinely worth the effort. This is not just a cosmetic checklist.
First kill on any difficulty:
30 Hero Dawncrests that do not count toward your seasonal cap. This alone makes the fight worth doing as soon as you can
My Shady Nemesis achievement, which rewards the Nullaeus Domaneye helmet transmog
Nulling Nullaeus quest completion, which rewards the Dominating Victory toy
Tier 11 kill:
Lighting the Dark achievement, which rewards The Ominous title
Tier 11 solo kill (no other players in your party):
Let Me Solo Him: Nullaeus achievement, which rewards the Arcanovoid Construct mount
Fabled Let Me Solo Him: Nullaeus if you are among the first 4,000 players in your region to do it. This rewards the Fabled Vanquisher of Nullaeus title
The Arcanovoid Construct is the big chase item here. It is a full standalone mount, visually distinct and time limited to Season 1. If you want it you need to solo Tier 11 before the season ends. It is one of the hardest solo challenges in Midnight and it is meant to be.
CTA: If the Arcanovoid Construct mount is on your list but the solo Tier 11 clear feels out of reach, our team can help. Check out our Delve boost services for Midnight Season 1.

FAQ
Where is Torment's Rise in WoW Midnight?
Torment's Rise is located in the Voidstorm zone at /way #2405 61.17 71.37. It sits between Nexus Point Xenas and Obscurion Citadel in the southeast corner of the zone. Fly there from anywhere in Voidstorm.
How do I unlock the Nullaeus fight?
Complete any Tier 7 Delve with at least 1 life remaining to unlock Tier 8 difficulty. Complete any Tier 10 Delve with at least 1 life remaining to unlock Tier 11 difficulty.
What ilvl do I need for Nullaeus?
Tier 8 recommends 255 ilvl. Tier 11 recommends 274 ilvl. You can attempt it lower but the fight is already punishing at recommended levels. Going in undergeared means you run out of time or health during the final burn.
Can I do Nullaeus in a group?
Yes, Torment's Rise supports group play. However, the Let Me Solo Him: Nullaeus achievement and the Arcanovoid Construct mount specifically require a solo kill on Tier 11. If you want the mount, you have to do it alone.
What is the most important mechanic in the Nullaeus fight?
Interrupting Emptiness of the Void. It is a lethal AoE cast that will one shot you at current gear levels. Everything else in the fight is manageable if this ability never goes off. Build your entire interrupt and cooldown plan around this cast.
Should Valeera be Healer or DPS for Nullaeus?
Healer for most specs. She dispels Devouring Essence and the Razorshell Ravager bleeds, which reduces incoming damage significantly. Only set her to DPS if you need her to handle interrupts (mainly healers or ranged DPS with long interrupt cooldowns).